Web applications are amongst the most popular types of applications in the world, and conveniently, they are also the simplest to delve into for beginners. Gone are the days where a developer must tussle with sockets, thread management, and the other pains that came along with web development.
With the concise syntax of Python, Flask is a web application framework that abstracts a lot of the complicated aspects of web development away, leaving you to just deal with the components that make your app unique. Flask allows you to create an app, complete with a frontend—which the user can interact with through their browser—and a backend for your server-side functionality. Today, we are going to create a simple web app with Flask that allows the user to enter a stock, fetches the price data using the Alpha Vantage API, and displays it with Matplotlib.
As prerequisites, I only expect the reader to have basic familiarity with Python, which includes having Python completely set up on your computer. We will also be using HTML and CSS, but you will learn them along the way, and we won’t be stressing about making our app pretty or responsive. Functionality over aesthetics!
Also, as a side note, all of the code is in this repository. Feel free to clone it and play with it if you'd like!
Setting up Flask: Hello World
Let’s first begin with getting the basic Flask boilerplate code working. Create a new directory and inside of it, create a new python file called main.py. This will be the entry point of our application. The file will look like this:
from flask import Flask

app = Flask(__name__)

@app.route('/')
def index():
    return "Hello world!"

if __name__ == '__main__':
    app.run(debug=True)
First, we are importing the Flask library.
Second, we're initializing our Flask app object.
Then, we're creating a function called index with the Python decorator @app.route('/'). For our purposes, it suffices to think about the decorator as telling Flask to call the index function whenever the user visits the root page of our website. In this case, we're simply returning Hello World!.
If you would like to learn more about decorators, I highly suggest checking out this article.
Finally, we have an if statement that only evaluates to be true when we run the file. In that case, we call app.run() and set its debug parameter to True. If we were to import this file from another Python file, then that if statement would be False. Learn more about this feature of Python here.
Run main.py in your terminal; The following will be displayed:
* Serving Flask app 'main' (lazy loading)
* Environment: production
WARNING: This is a development server. Do not use it in a production deployment.
Use a production WSGI server instead.
* Debug mode: on
* Running on http://127.0.0.1:5000/ (Press CTRL+C to quit)
* Restarting with stat
* Debugger is active!
* Debugger PIN: 139-516-999
You can go to that link in your web browser to see what we've created so far! You should see a quite atrocious looking page. But don't worry, that's what the rest of this article is for.
Creating a HTML Page
The next step is to actually use an HTML page that our web browser can render with all of the elements that our app needs. This includes a title, a text field for the ticker symbol, and a radio picker for the interval of the data that gives the user the options of daily, weekly, or monthly. Create a new folder in your root directory called templates and inside of it, create a file titled index.html and insert the below code. All of our HTML files need to be inside the templates folder because that's where Flask is going to look.
<!DOCTYPE html>
<html lang="en">
  <head>
    <meta charset="UTF-8" />
    <meta http-equiv="X-UA-Compatible" content="IE=edge" />
    <meta name="viewport" content="width=device-width, initial-scale=1.0" />
    <title>Stock Price Checker</title>
  </head>
  <body>
    <h1>Stock Price Checker</h1>
  </body>
</html>
The directory structure so far should look like this:
- main.py
- templates/
    - index.html
Quick HTML/CSS Primer
If you've never used HTML before, don't fret. It's much simpler than Python and if you're ready to make a web app with Python, you're definitely ready to get your hands dirty with some HTML. HTML stands for Hypertext Markup Language, and it's responsible for organizing all of the elements you see on literally any webpage you visit.
Each HTML element is defined by tags: an opening and a closing tag. Each tag has a name, like h1 through h6 for various headers, div for divider, or a for anchor, which is responsible for links to other pages. Inside of an element, you can have more child elements. HTML elements are pretty much like the Matryoshka dolls, with one inside of another. Keeping this hierarchy in mind will make it easier for you to understand why we're putting elements in the places we are.
Each element can also have attributes, like class and id. These allow us to style the element with CSS files, or Cascading Style Sheets. If HTML is responsible for organizing the elements on the webpage, CSS is responsible for making them look good.
In the example below, we have a div tag with the class value of interval-prompt. Between the opening and closing tags, we have some text, which will be displayed on screen.
Notice how each tag starts with a < and ends with a >. Also, the closing tag has a forward slash before the tag name.
<div class="interval-prompt">Choose the interval of the data</div>Connecting the Page to the App
As of right now, if you refresh your browser, you aren't going to see any changes. That's because we have to tell Flask to render this HTML page when the user goes to the URL. Inside main.py make the following changes:
from flask import Flask, render_template@app.route('/')
def index():
return render_template("index.html")We're importing another built-in function, render_template, that Flask has, allowing us to return HTML to our web browser instead of just some text. We're passing in the name of the HTML file that we want to be displayed. Remember, Flask knows where to look for this file because we've placed it in the templates directory.
If the server from earlier was already running, it should detect a change main in main.py and automatically reload, else you can simply rerun the file in your terminal.
If at any point, your browser says "This site can't be reached" make sure your server is running in your terminal!
You should see the following:
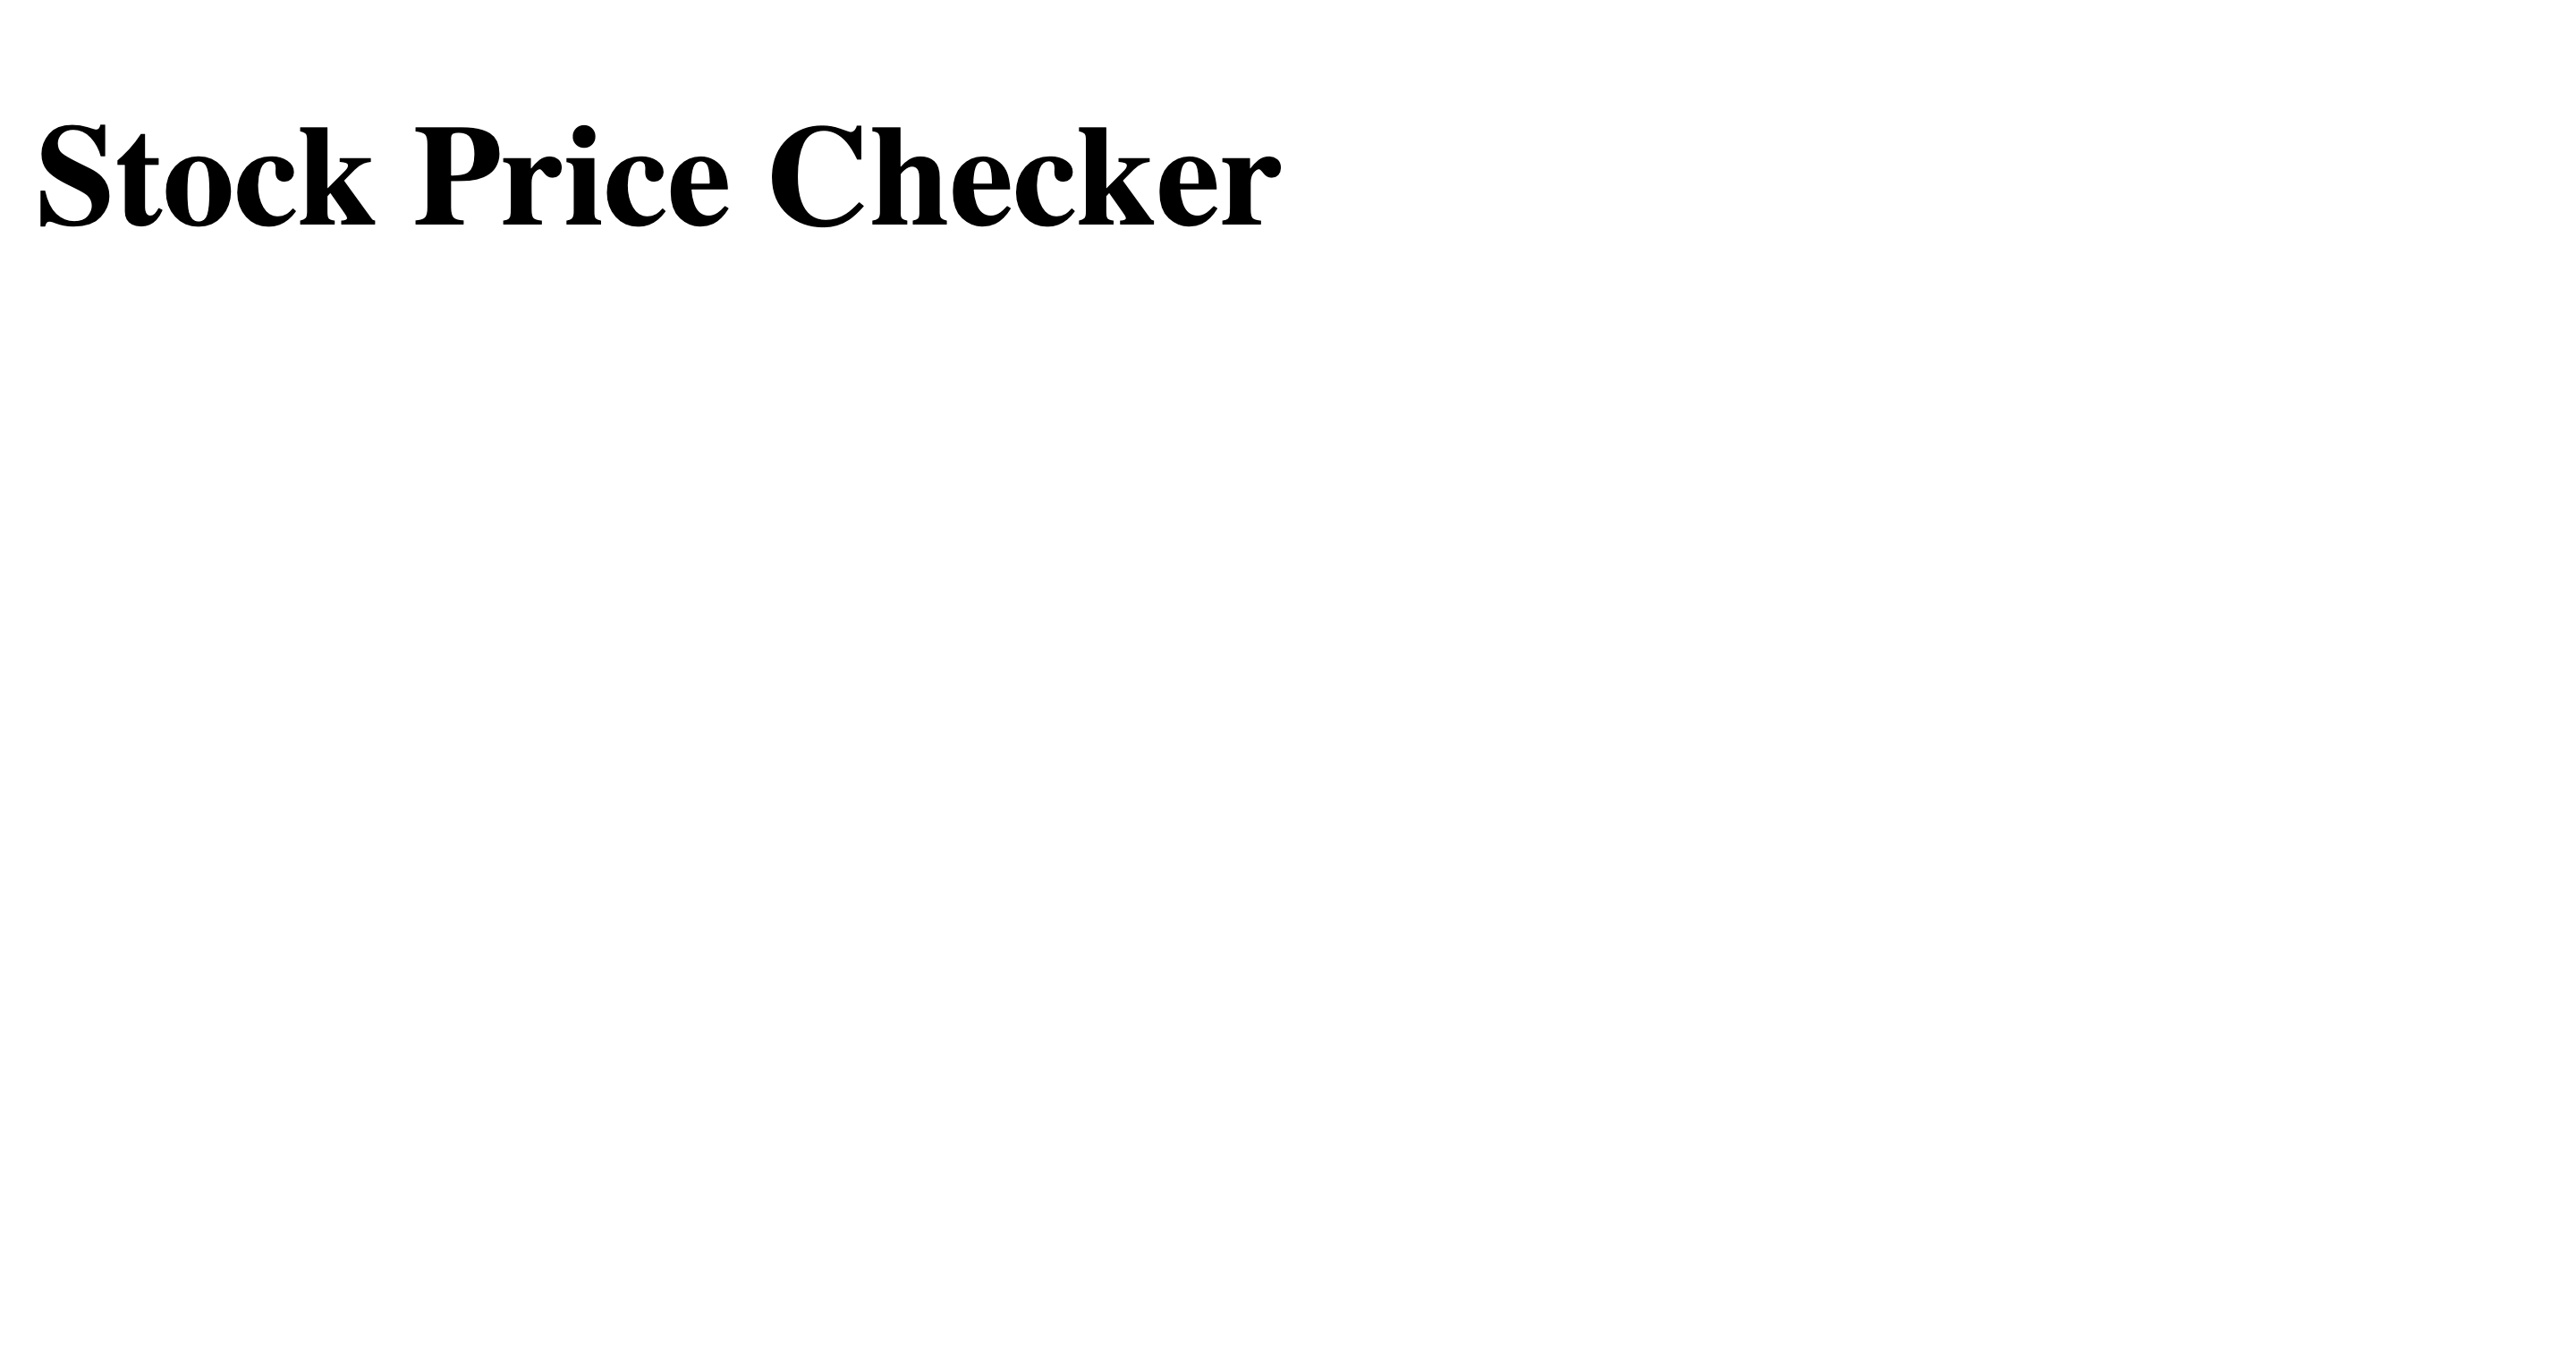
The h1 tag is a header tag, which tells the browser that the text "Stock Price Checker" should be displayed as a header.
Creating the Form in HTML
Next, we want to be able to take in user input, more specifically, what ticker symbol they want to look up and what interval they want for the data (between daily, weekly, and monthly). We can do this with a very basic HTML form. Insert the following code in index.html right below the h1 tag.
<form method="POST" action="info">
  <div>
    <label for="symbol">Ticker Symbol</label>
    <input type="text" name="symbol" placeholder="Enter ticker symbol" />
  </div>
  <!-- Radio buttons will be placed here in the next step. -->
  <button type="submit">Submit</button>
</form>
We're using the form tag to create a form that has a singular text box and a submit button at the bottom. Refreshing your web browser should give you this:
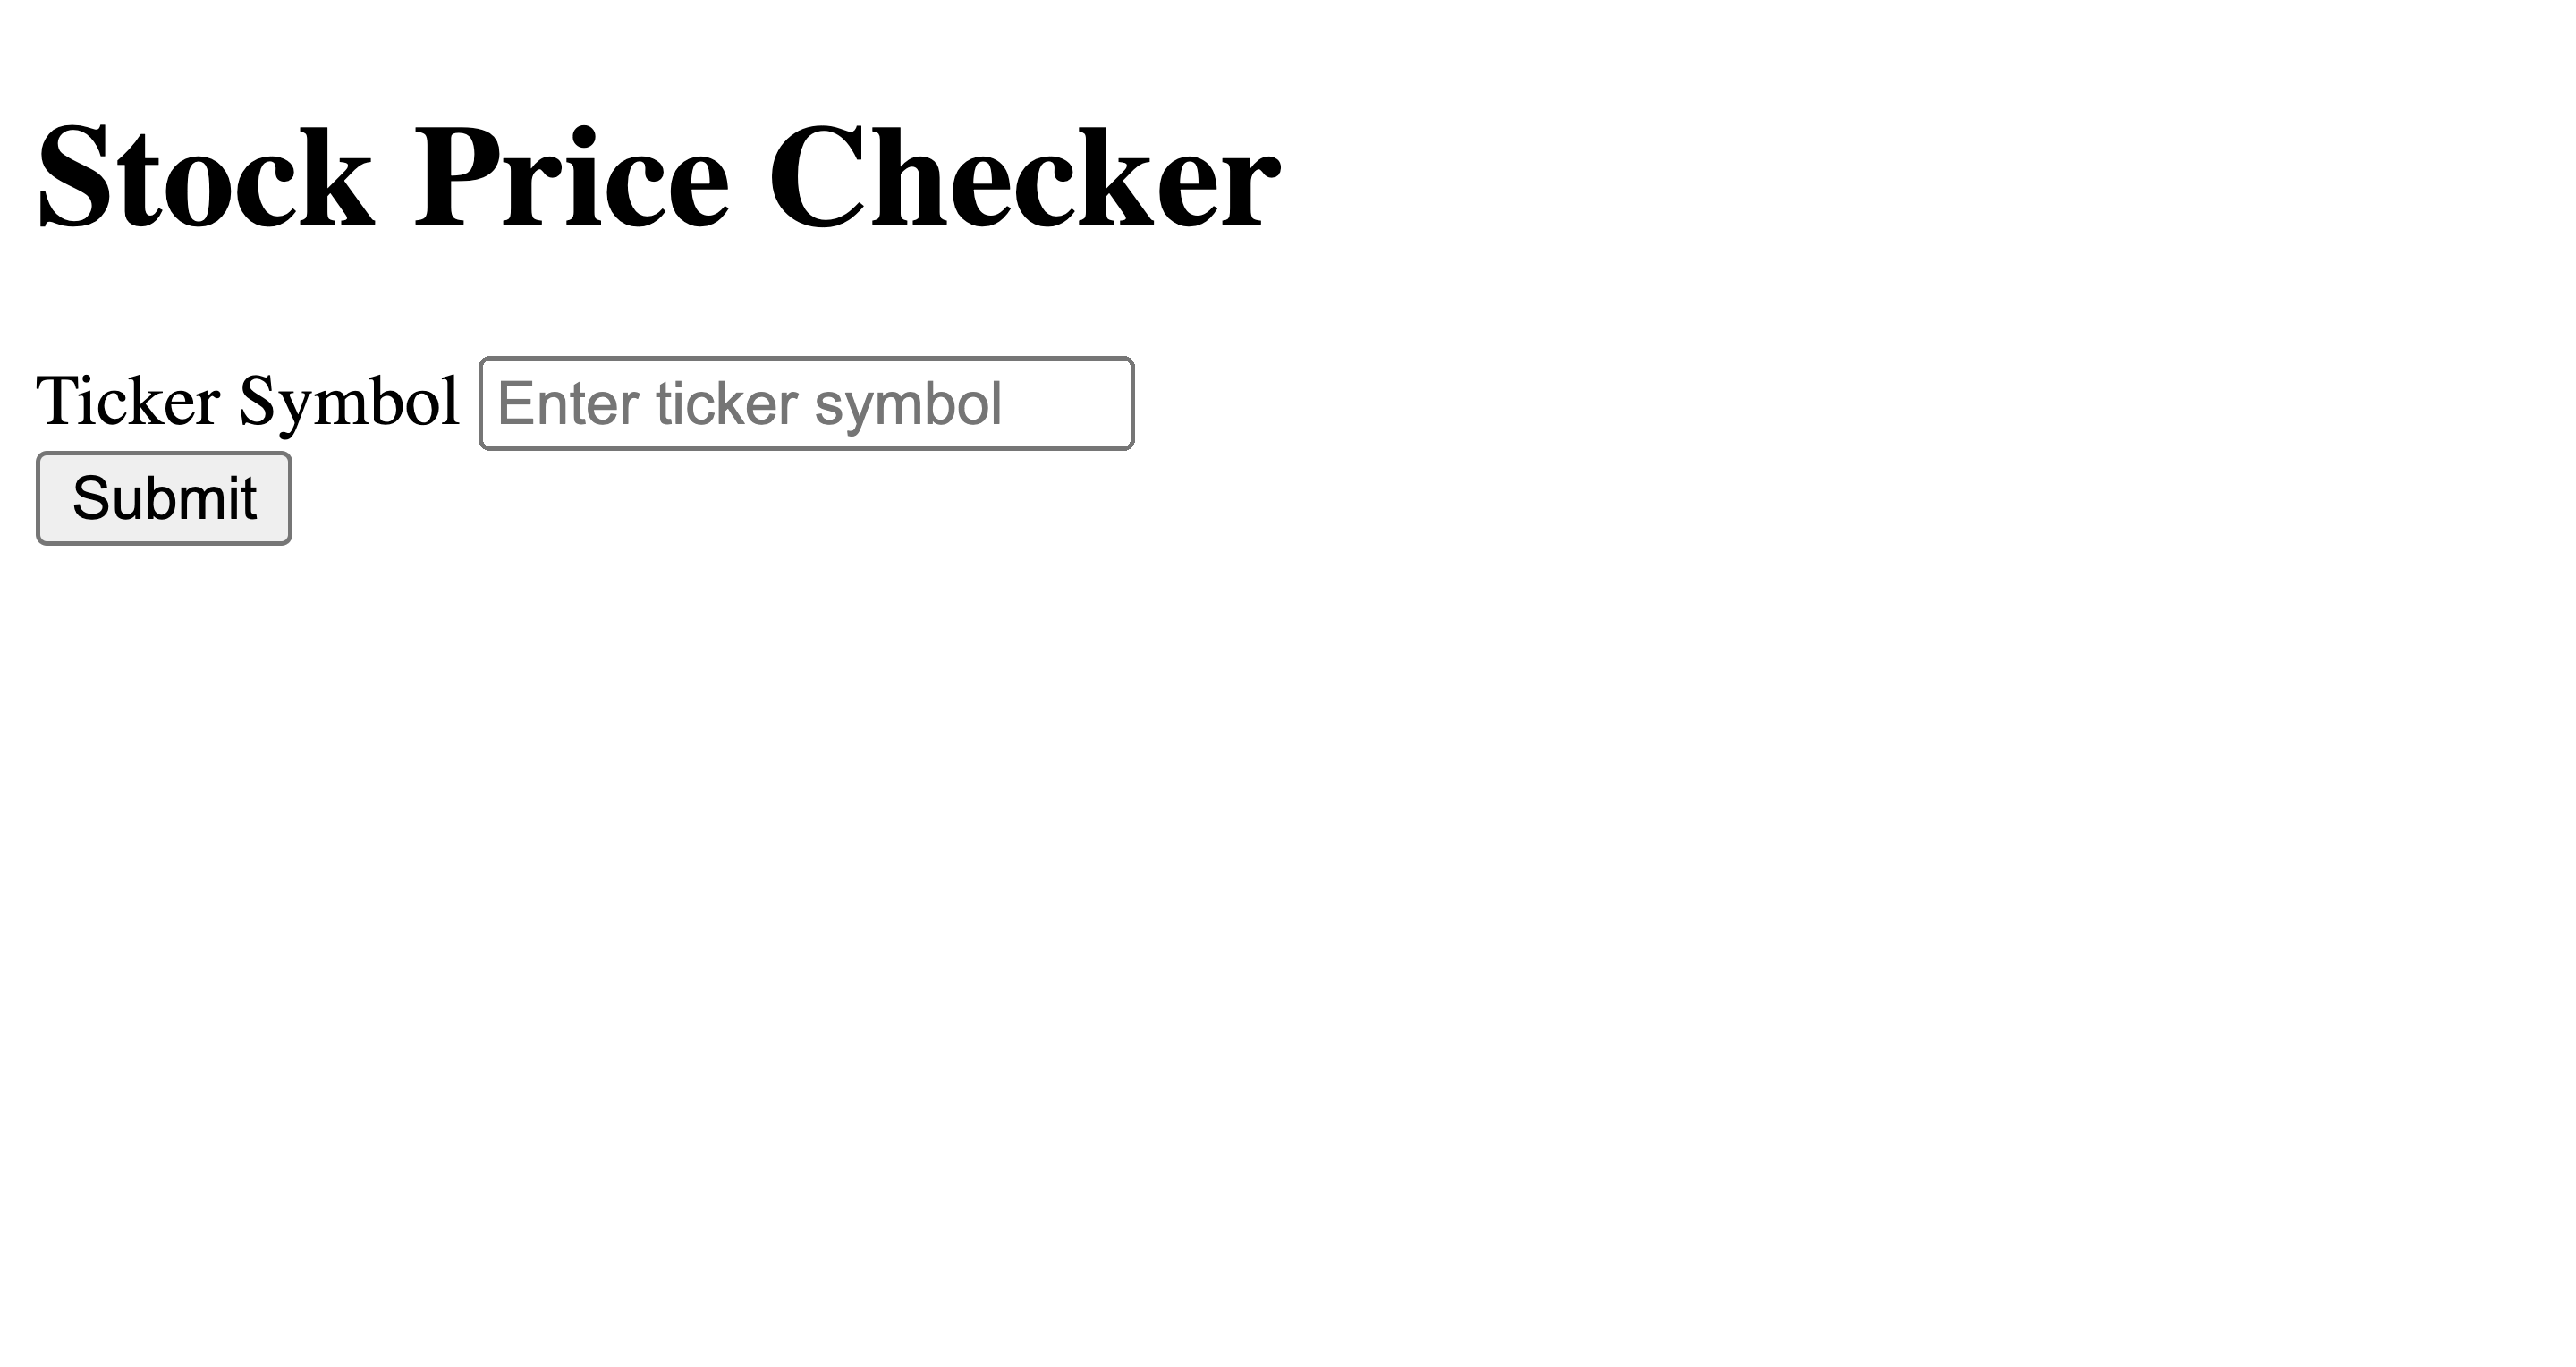
If you look at the form's attributes, you'll see method="POST" and action="info". POST means when the user clicks the submit button, this form will perform a HTTP POST request, i.e., it will "post" some data to the Flask server. In this case, it's the data that the user enters.
The action attribute is important because it tells the web browser where to go after the form is submitted. Here, the user will be redirected to http://127.0.0.1:5000/info. Before we test that out, let's finish the rest of our form. Add the following code between the text box and submit button, where the comment is.
<div>
  <input
    type="radio"
    id="daily"
    name="interval"
    value="TIME_SERIES_DAILY"
    checked
  />
  <label for="daily">Daily</label>
</div>

<div>
  <input type="radio" id="weekly" name="interval" value="TIME_SERIES_WEEKLY" />
  <label for="weekly">Weekly</label>
</div>

<div>
  <input
    type="radio"
    id="monthly"
    name="interval"
    value="TIME_SERIES_MONTHLY"
  />
  <label for="monthly">Monthly</label>
</div>
Resulting in this:
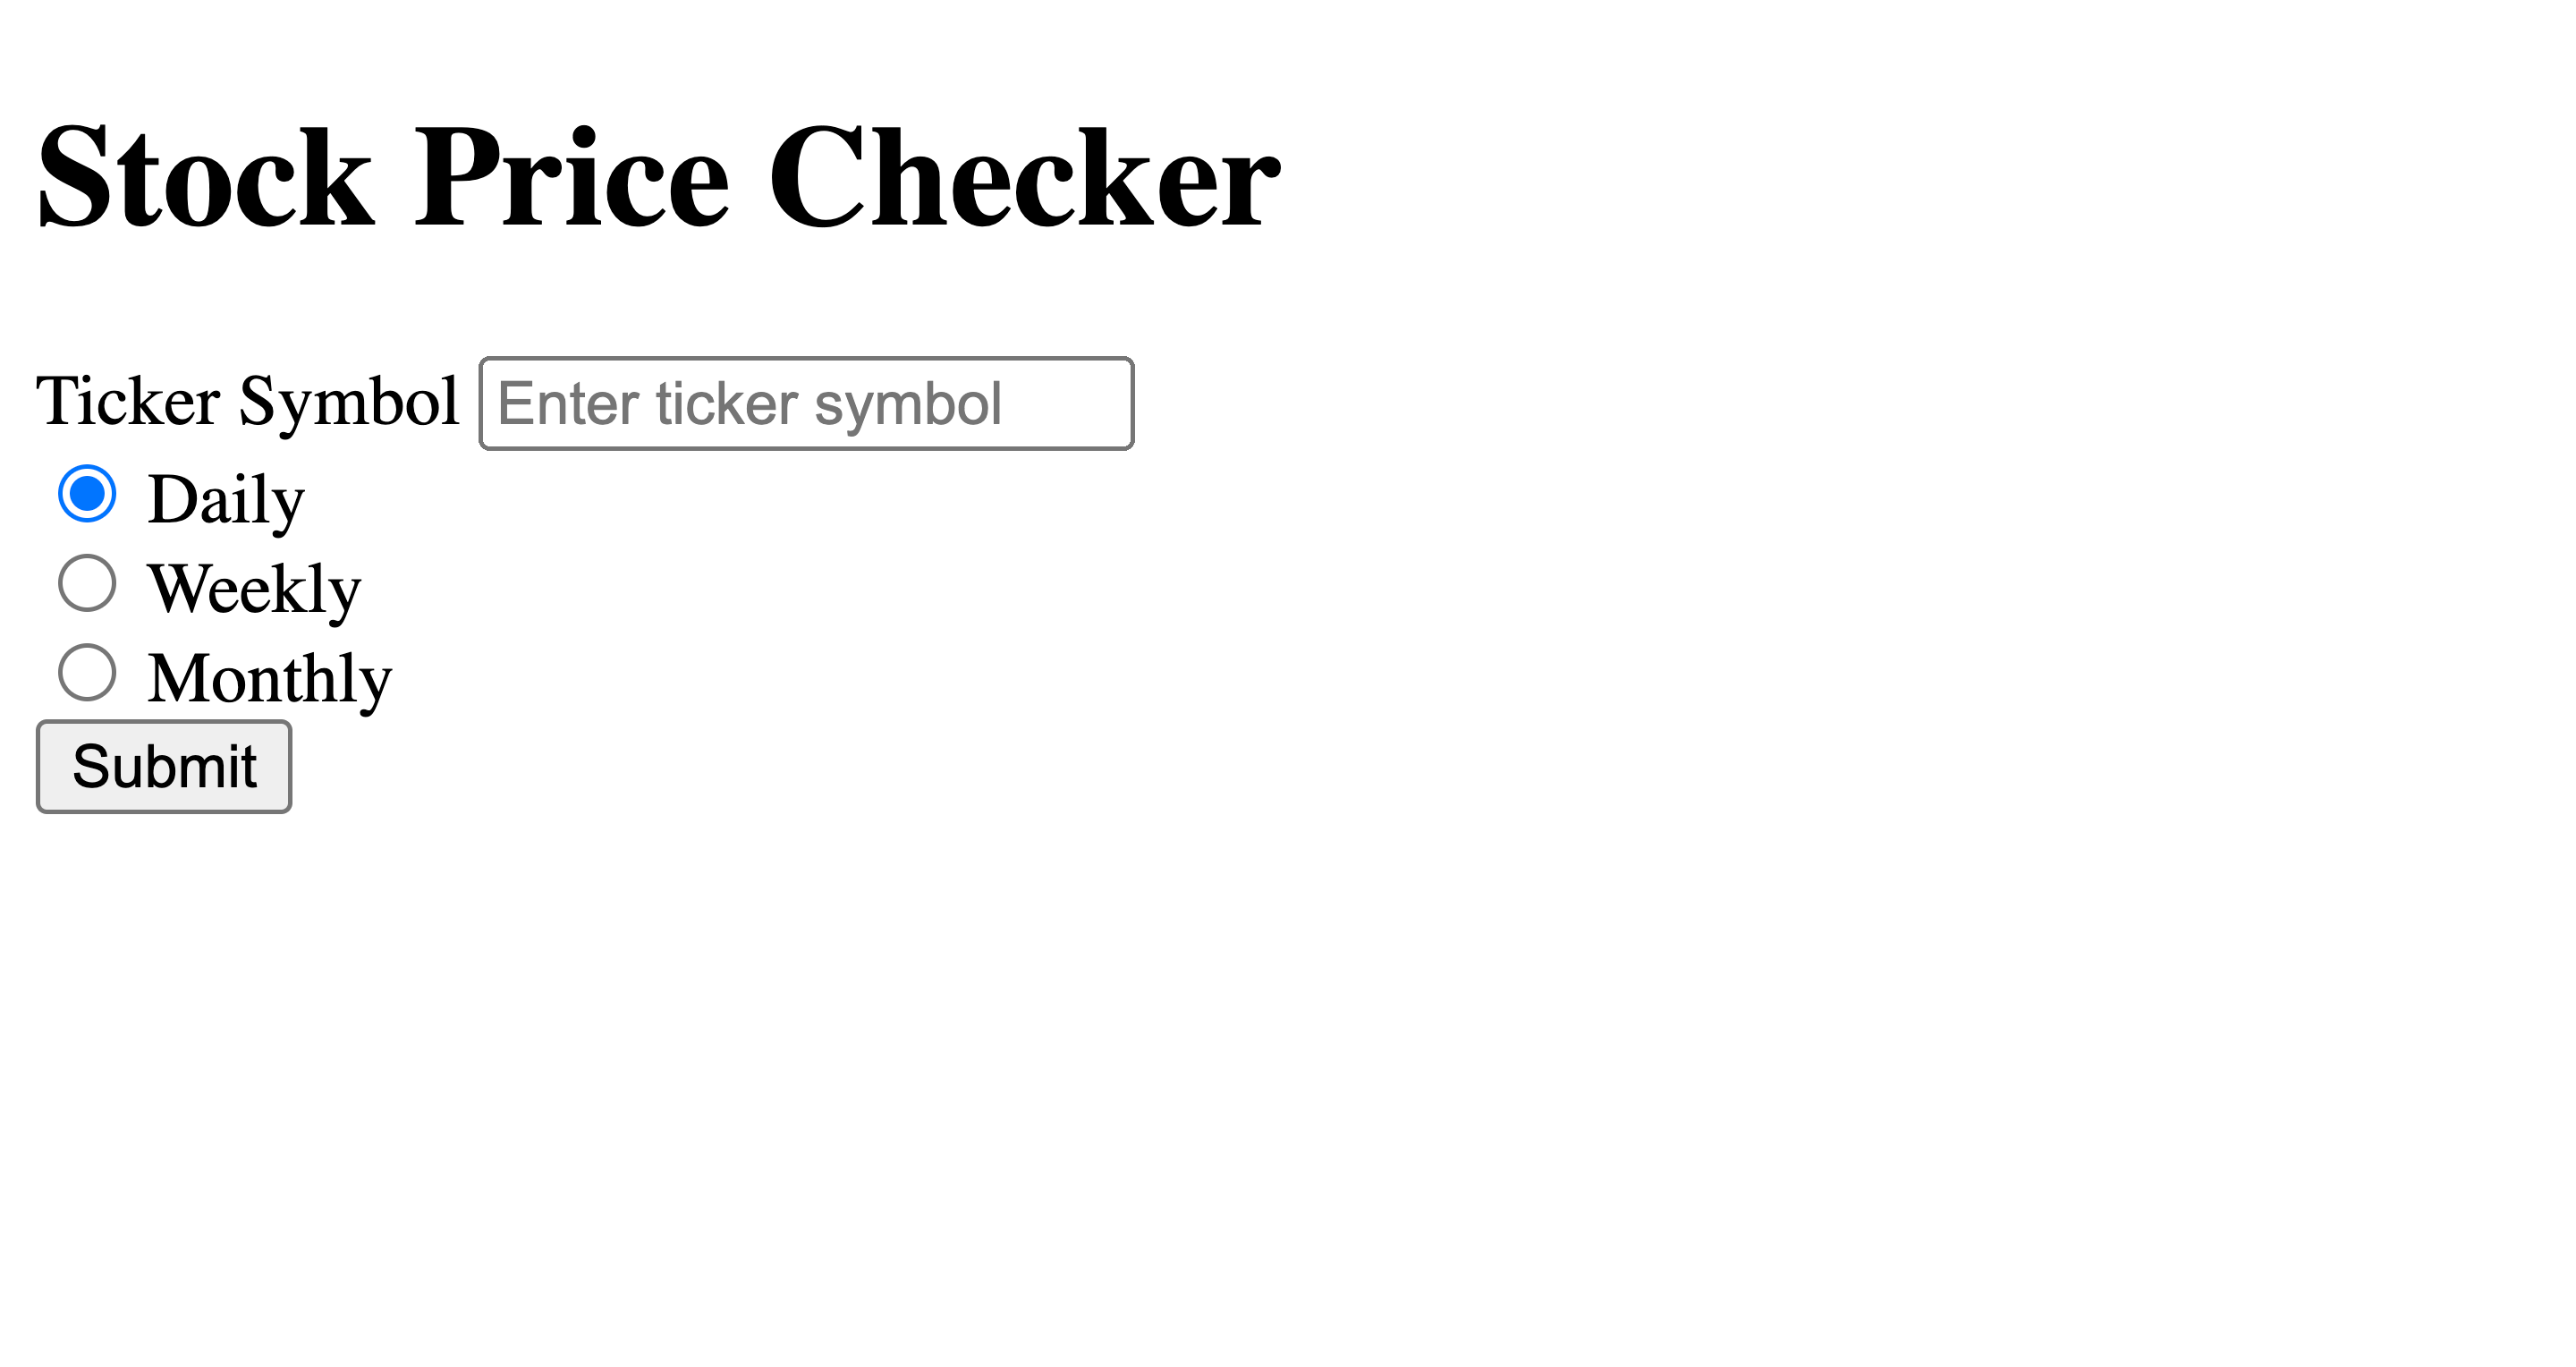
These are radio buttons that belong to the same group, dictated by the name attribute. This means the user can only have one selected at a time.
Let's add some text to help the user out and better their overall experience. Your index.html file should look like this:
<!DOCTYPE html>
<html lang="en">
  <head>
    <meta charset="UTF-8" />
    <meta http-equiv="X-UA-Compatible" content="IE=edge" />
    <meta name="viewport" content="width=device-width, initial-scale=1.0" />
    <title>Stock Price Checker</title>
  </head>
  <body>
    <h1>Stock Price Checker</h1>
    <p>
      Enter a ticker symbol and a time interval to get a graph of the price!
    </p>
    <form method="POST" action="info">
      <div>
        <label for="symbol">Ticker Symbol</label>
        <input type="text" name="symbol" placeholder="Enter ticker symbol" />
      </div>
      <p>Interval</p>
      <div>
        <input
          type="radio"
          id="daily"
          name="interval"
          value="TIME_SERIES_DAILY"
          checked
        />
        <label for="daily">Daily</label>
      </div>

      <div>
        <input
          type="radio"
          id="weekly"
          name="interval"
          value="TIME_SERIES_WEEKLY"
        />
        <label for="weekly">Weekly</label>
      </div>

      <div>
        <input
          type="radio"
          id="monthly"
          name="interval"
          value="TIME_SERIES_MONTHLY"
        />
        <label for="monthly">Monthly</label>
      </div>

      <button type="submit" value="Submits">Submit</button>
    </form>
  </body>
</html>
Remember though that we don't have the /info route set up in main.py. This means if you click submit, you'll be greeted with the following screen:
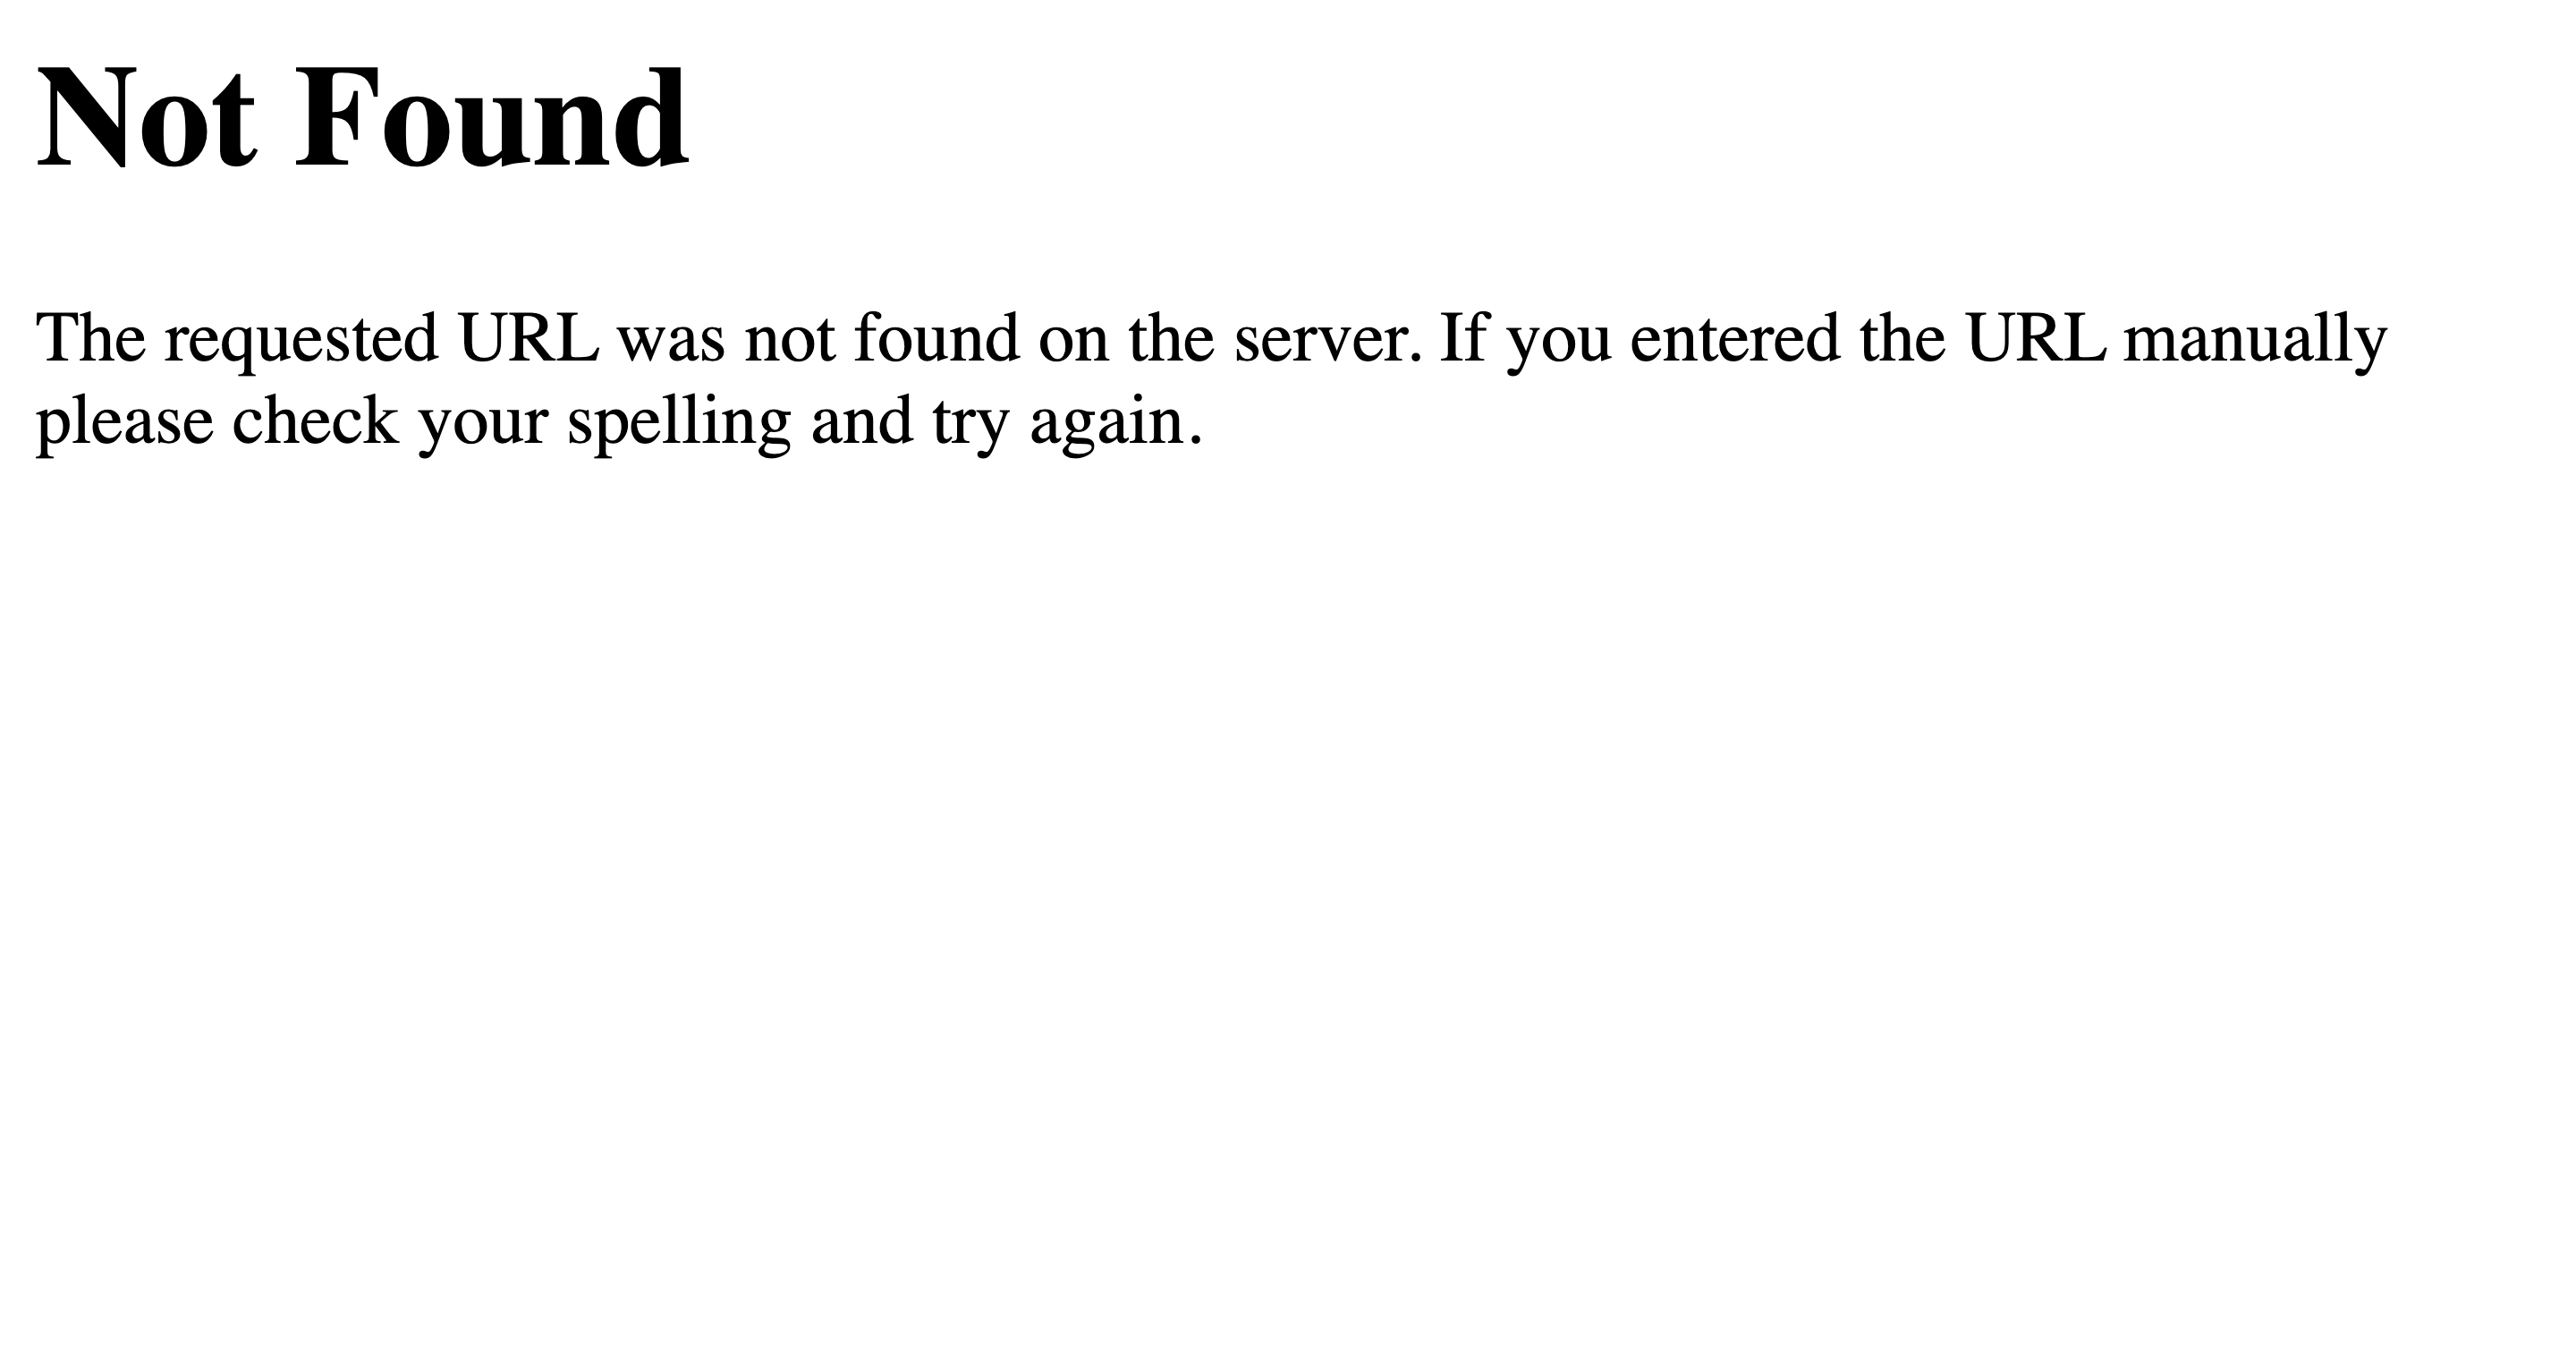
Let's fix this! Add the following code to main.py under the index function.
@app.route('/info')
def info():
    return render_template('info.html')
We don't have an info.html page created, but there's another problem. When you click submit now, you'll see this error message:
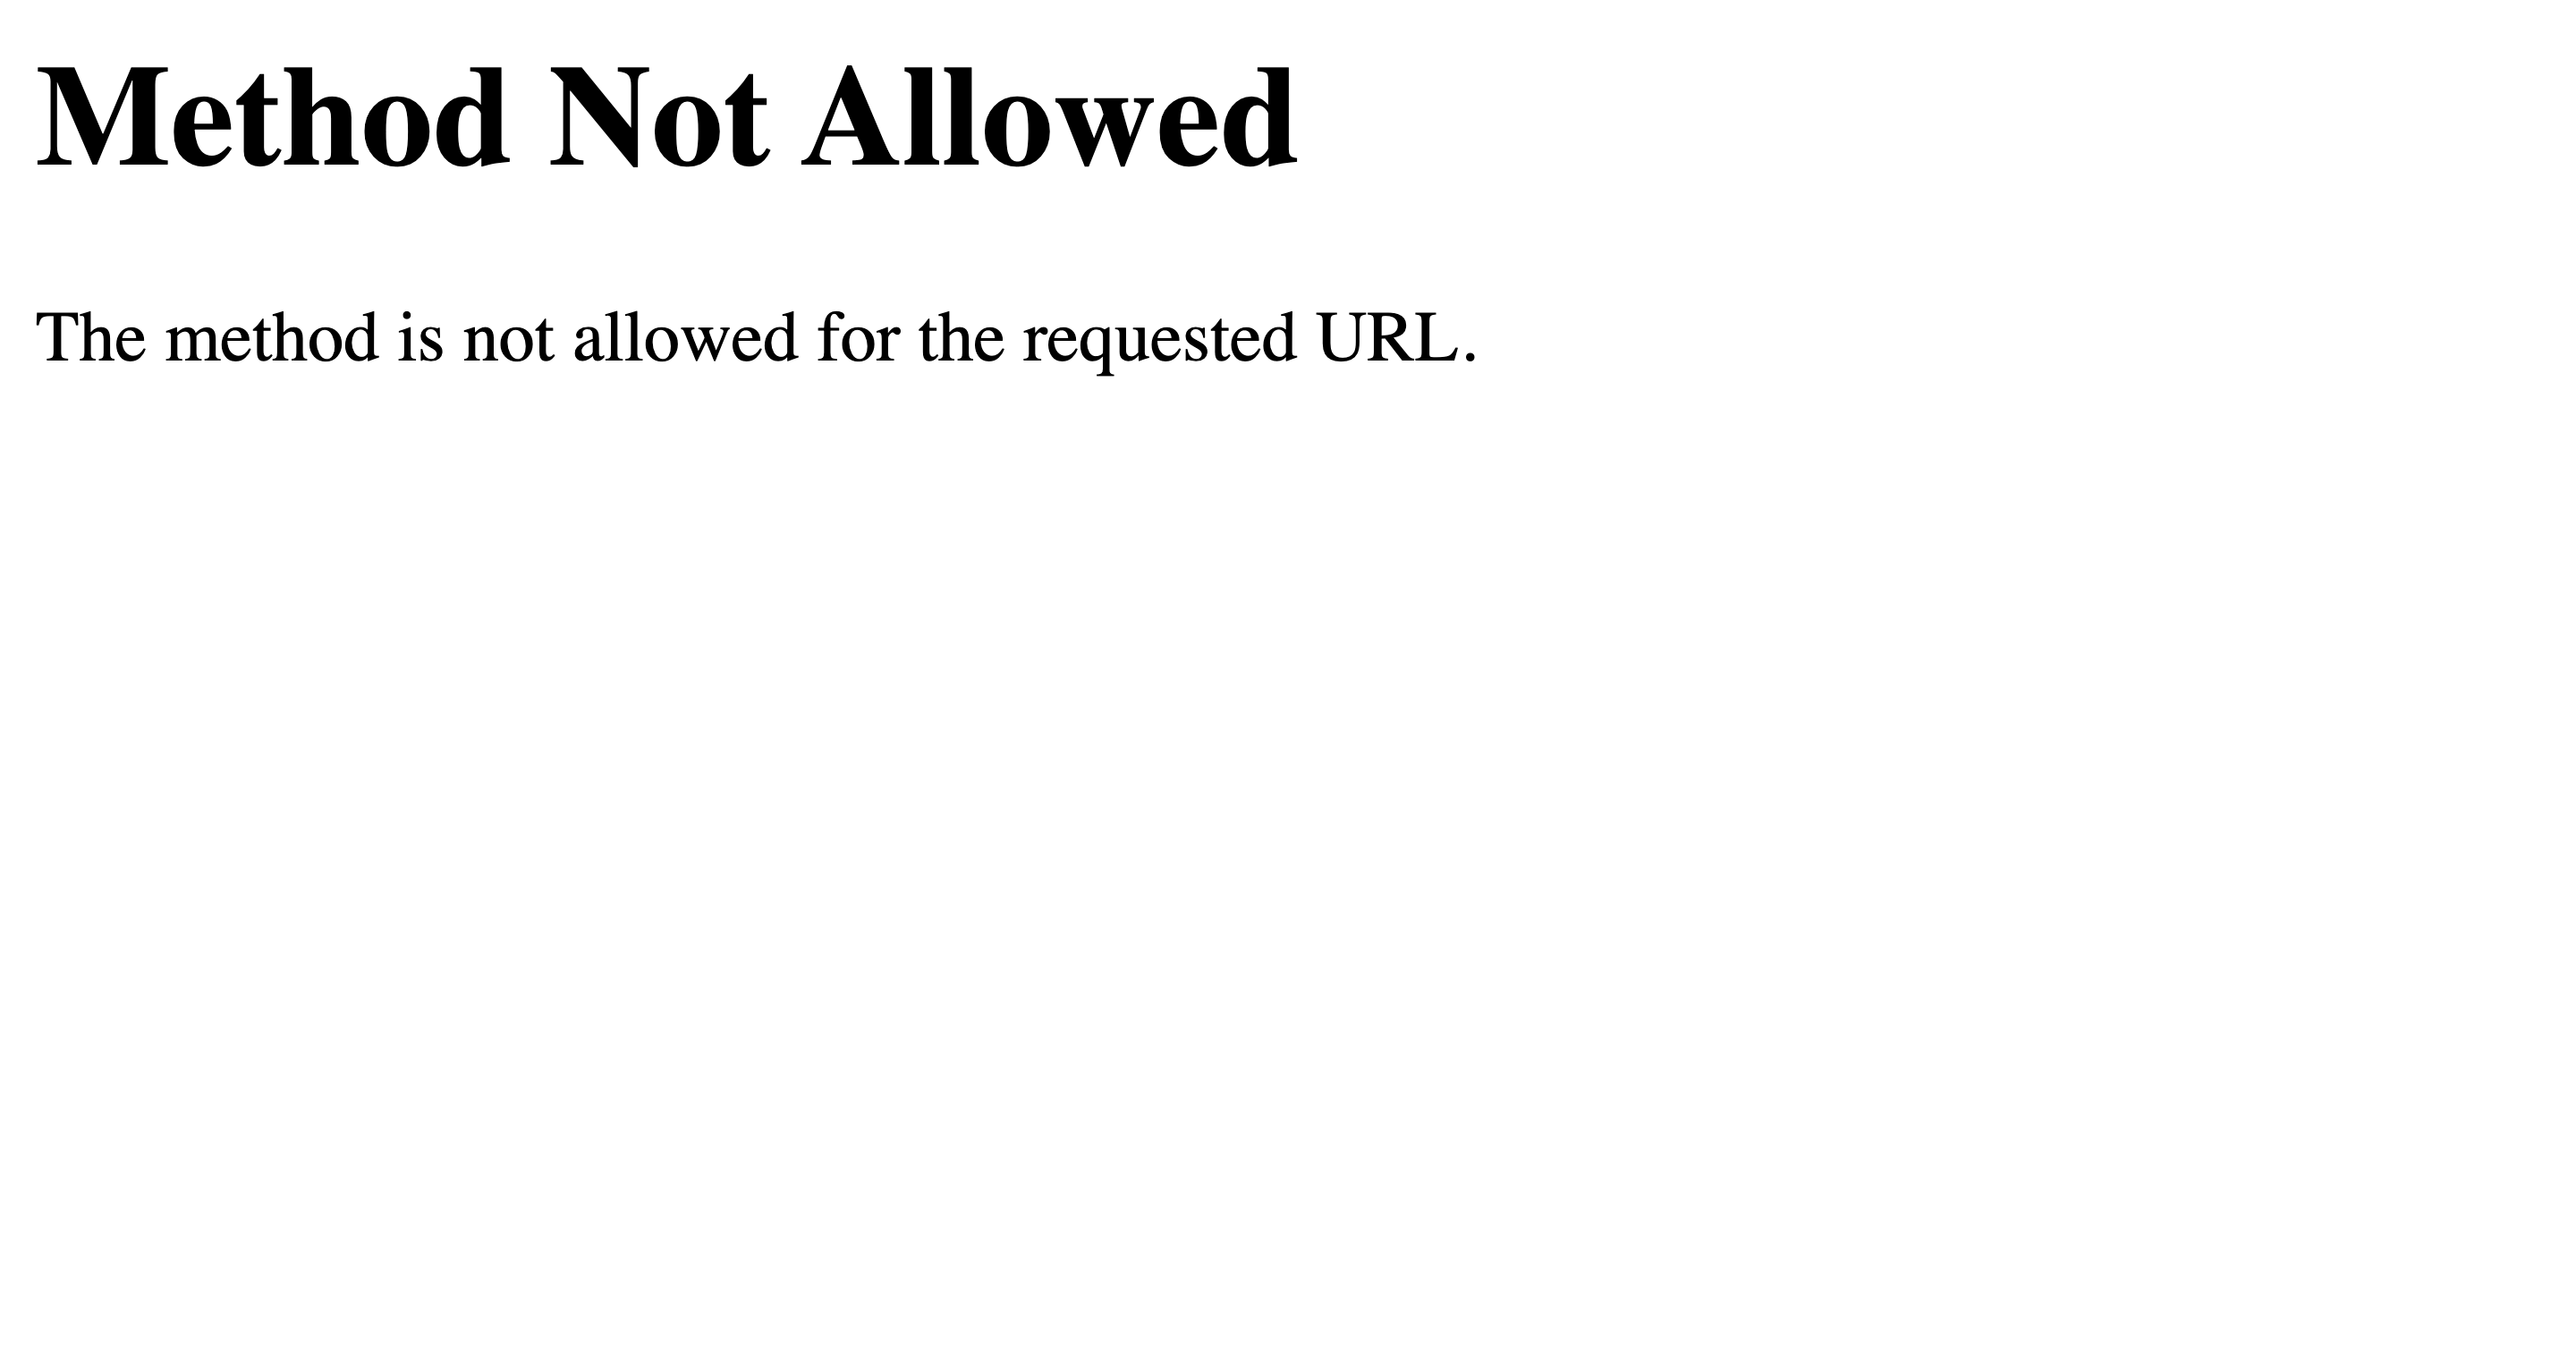
This is because our form is sending a HTTP POST request to Flask. We need to tell our method to accept POST requests. Make the following change:
@app.route('/info', methods=['GET', 'POST'])
def info():
    return render_template('info.html')
The reason why we're accepting both GET and POST is if the user accidentally (or purposefully) sends a GET request to http://127.0.0.1:5000/info, meaning if they navigate to the URL not through the form, we want to redirect them back to the home page, not throw a "Method Not Allowed" error like the one we saw above.
Now, if we click submit, we're greeted with the following error:

Jinja 2
We need to create an info.html. Let's do some quick refactoring of our HTML files to adhere to DRY, or Don't Repeat Yourself. All of the meta data that our browser needs is currently in index.html, such as the html, head, title, and various meta tags. These will stay the same throughout our entire application, so we don't want to copy paste these into our info.html.
Thankfully, Flask uses Jinja 2 as its web template engine, which allows us to create template pages for reuse. This is useful for if we choose to change any metadata or add any CSS files for styling; We don't have to manually add it to each of our HTML files, rather, we just need to add it to one place and the changes will be reflected everywhere.
Inside index.html add {% block content %} right after the opening body tag and {% endblock %} right before the closing body tag, like this:
<!DOCTYPE html>
<html lang="en">
<head>
    <meta charset="UTF-8">
    <meta http-equiv="X-UA-Compatible" content="IE=edge">
    <meta name="viewport" content="width=device-width, initial-scale=1.0">
    <title>Stock Price Checker</title>
</head>
<body>
    {% block content %}
    <h1>Stock Price Checker</h1>
    ...
    </form>
    {% endblock %}
</body>
</html>
This doesn't change the appearance of index.html, but it does make it easier for us to create info.html. Once you've created info.html in the templates folder, insert the following code.
{% extends "index.html" %} {% block content %}
<h1>Historical Stock Data</h1>
{% endblock %}
Essentially, we're telling Jinja2 to take all of the code from index.html and replace the code between the {% block content %} and {% endblock %} with <h1>Historical Stock Data</h1>. This makes our templates really modular and easy to use.
Finally, clicking submit should show you a page with "Historical Stock Data" in big, bold letters with http://127.0.0.1:5000/info in the omnibox of your browser.
Sending Data to the Backend from the Form
Once, we click submit in the form, we need a way to access the user's input in main.py. Up top, import request from Flask. Add redirect to the list too, which we'll use in just a sec.
from flask import Flask, render_template, request, redirectThen, inside info(), we can view the form data by adding the following lines.
@app.route('/info', methods=['GET', 'POST'])
def info():
    form_data = request.form
    print(form_data)
    return render_template('info.html')
When we type something in the form and click submit, we'll see something similar to the following printed out in our Python terminal.
ImmutableMultiDict([('symbol', 'aapl'), ('interval', 'TIME_SERIES_DAILY')])ImmutableMultiDicts are a subclass of regular Python dictionaries; Here, each key can have multiple values. Since each our our keys will only have one value, we can treat it like a regular dictionary. In this case, symbol and interval are the keys, which we set in our HTML form with the name attribute. To access the values, make the following changes:
@app.route('/info', methods=['GET', 'POST'])
def info():
    form_data = request.form
    symbol = form_data["symbol"]
    function = form_data["interval"]
    print(symbol, function)
    return render_template('info.html')
Let's add a quick check to make sure the user is only accessing this /info URL only through the form, and not by manually typing it in, which would result in a GET request.
@app.route('/info', methods=['GET', 'POST'])
def info():
    if request.method == 'GET':
        return redirect('/') # Redirects user back to root page
    form_data = request.form
    symbol = form_data["symbol"]
    function = form_data["interval"]
    return render_template('info.html')
Using the Alpha Vantage API
Now let's learn to use the Alpha Vantage API. We'll only be using the Core Stock API and the Company Overview API, but the full documentation is here. An API stands for Application Programming Interface and it's a way for our app to talk to Alpha Vantage's servers. We can use the API to grab the requested information from them.
First, you'll need an API key, which tells Alpha Vantage's server who is requesting the data. It's free and all you'll need is an email. You can request one here.
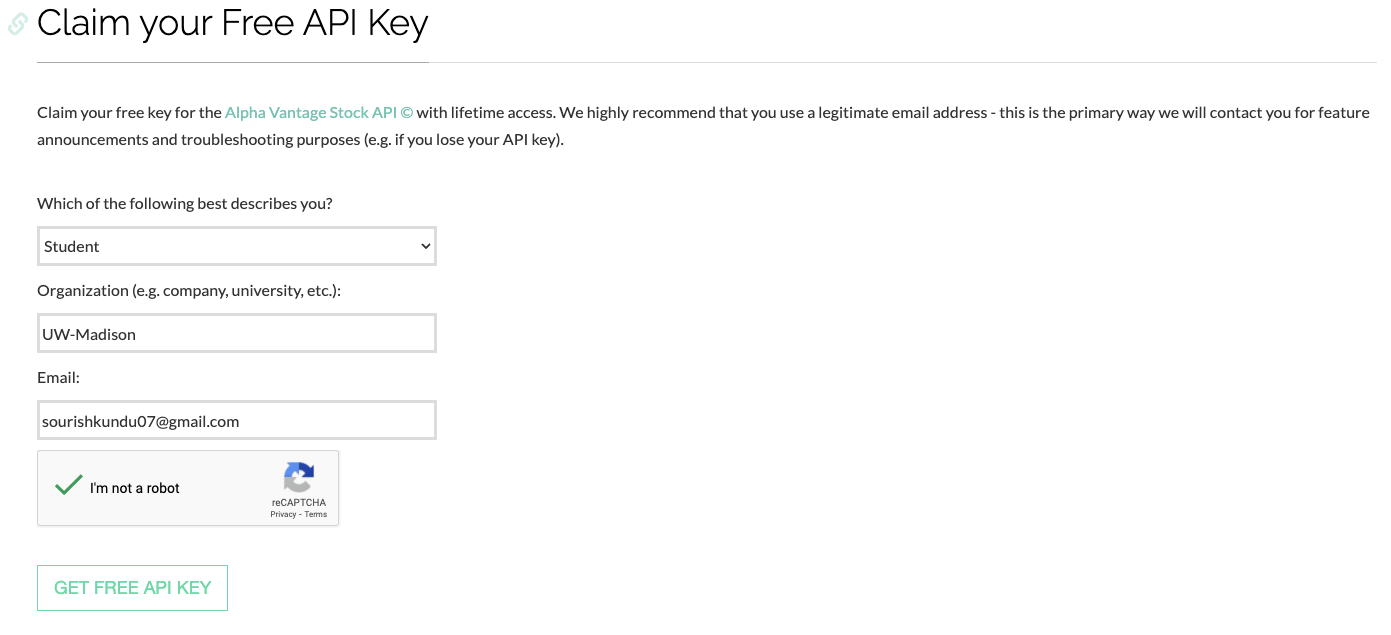
Once you get your key, copy it and DO NOT SHARE IT WITH ANYONE! API keys are meant to be kept a secret, and it's good practice to adhere to that, even if the consequences of not doing so aren't that severe (at least, for these purposes).
We'll need to give this to our Flask app, but we don't want to simply create a string variable. If we choose to publish our project in a GitHub repository, anyone can see it then.
We're going to set it as an environment variable by putting it in an environment file. In the root directory of your project, create a file name .env. Inside of it, paste the following, replacing {{API_KEY}} with your own:
AV_KEY={{API_KEY}}If you do push your project to a public repository, make sure add .env to your .gitignore file! This way, it'll stay local and not in the cloud.
The way we can access this value is through the os and dotenv modules in Python. Paste the following import statements at the top of main.py.
import os
from dotenv import load_dotenv
Then, above app = Flask(__name__), paste the following:
...
load_dotenv()
AV_KEY = os.getenv("AV_KEY")

app = Flask(__name__)
...
The first line loads in the .env file (assuming it's in the root directory) and the second line grabs the specific key that we need and sets it to the AV_KEY variable. Using an environment variable is also useful if you're working with teammates; Then, each teammate could have their own .env file and API key for their requests.
The way we grab specific data is through a URL. The format is outlined below for the Core Stock API.
https: //www.alphavantage.co/query?function=[function]&symbol=[symbol]&apikey=[AV_KEY];function, symbol, and apikey are the three parameters that the URL takes in. If we fill out that URL (replacing the brackets as well) with function as TIME_SERIES_DAILY, symbol as AAPL, and our API key, and navigate to it in my browser, I am greeted with the following:
{
    "Meta Data": {
        "1. Information": "Daily Prices (open, high, low, close) and Volumes",
        "2. Symbol": "AAPL",
        "3. Last Refreshed": "2022-02-11",
        "4. Output Size": "Compact",
        "5. Time Zone": "US/Eastern"
    },
    "Time Series (Daily)": {
        "2022-02-11": {
            "1. open": "172.3300",
            "2. high": "173.0800",
            "3. low": "168.0400",
            "4. close": "168.6400",
            "5. volume": "98670687"
        },
        "2022-02-10": {
            "1. open": "174.1400",
            "2. high": "175.4800",
            "3. low": "171.5500",
            "4. close": "172.1200",
            "5. volume": "90865899"
        },
...
This is a JSON file which contains all of the requested information, i.e. daily stock data for Apple. We need to grab this data from our Flask server so we can use it to create a graph.
Before we move on, let's first assemble this URL using the above variables right below where we set the function variable.
@app.route('/info', methods=['GET', 'POST'])
def info():
    if request.method == 'GET':
        return redirect('/') # Redirects user back to root page
    form_data = request.form
    symbol = form_data["symbol"]
    function = form_data["interval"]

    url = f"https://www.alphavantage.co/query?function={function}&symbol={symbol}&apikey={AV_KEY}"

    return render_template('info.html')
Grabbing Stock Data
We'll be using the requests module in Python to grab this data. Make sure you add the import statement at the top of main.py.
import requestsThen, inside info(), after the line where you assemble the URL based on the user's input but before the return statement, grab the JSON data that we saw earlier.
...
url = f"https://www.alphavantage.co/query?function={function}&symbol={symbol}&apikey={AV_KEY}"

stock_data = requests.get(url).json()

return render_template('info.html')
requests.get(url) returns a response object from the Alpha Vantage API. If we just print that, we see <Response [200]> in the terminal. We want to convert the content inside of the response object to JSON format, which in this case means a Python dictionary. We do this by calling json() on the response object.
Then, we need to grab the data from inside the dictionary. In order to figure out what keys you need, I recommend going to Alpha Vantage's API and looking at example outputs.
It looks like there are two keys at the first level, Meta Data and Time Series (Daily).
For daily price data, Alpha Vantage will automatically only give you the last 100 days unless you specify otherwise. This is to minimize the loads on their servers.
The data we need inside the dictionary is under the key of Time Series (Daily). However, if the user selects "weekly" as their interval, the key is Weekly Time Series and for "monthly" it's Monthly Time Series.
For whatever interval the uses chooses in the form, we need to grab the data from the dictionary with the appropriate key. Because there's no simple pattern that maps from TIME_SERIES_DAILY, TIME_SERIES_WEEKLY, and TIME_SERIES_MONTHLY to Time Series (Daily), Weekly Time Series, and Monthly Time Series. I am just going to create a dictionary to perform the mapping for us.
I placed the following towards the top of main.py, right before app = Flask(__name__).
...
load_dotenv()
AV_KEY = os.getenv("AV_KEY")

function_mapping = {
   "TIME_SERIES_DAILY": "Time Series (Daily)",
   "TIME_SERIES_WEEKLY": "Weekly Time Series",
   "TIME_SERIES_MONTHLY": "Monthly Time Series"
}

app = Flask(__name__)
...
Then, in info(), after I assign the JSON data to the variable stock_data, I can grab the specific data from the dictionary.
...
stock_data = requests.get(url).json()

func_key = function_mapping[function]
time_series = stock_data[func_key]
...
We're using the function variable and the function_mapping dictionary from above to get the relevant key that holds our data. Then, we're using that key on the stock_data dictionary to grab the actual data.
I know I've already used the Matryoshka dolls analogy once, but it applies here again. Inside each value for each key-value pair in our dictionary, we have another dictionary with more key-value pairs. I know that it can get quite tedious keeping track of what level of the dictionary we're in, but bear with me. Right now, this is what's inside of the time_series variable.
{
    "2022-02-14": {
        "1. open": "167.3700",
        "2. high": "169.5800",
        "3. low": "166.5600",
        "4. close": "168.8800",
        "5. volume": "85987949"
    },
    "2022-02-11": {
        "1. open": "172.3300",
        "2. high": "173.0800",
        "3. low": "168.0400",
        "4. close": "168.6400",
        "5. volume": "98670687"
    },
    "2022-02-10": {
        "1. open": "174.1400",
        "2. high": "175.4800",
        "3. low": "171.5500",
        "4. close": "172.1200",
        "5. volume": "90865899"
    },
    "2022-02-09": {
        "1. open": "176.0500",
        "2. high": "176.6500",
        "3. low": "174.9000",
        "4. close": "176.2800",
        "5. volume": "71285038"
    },
...
}
As we can see, we have a bunch of dates as the keys, and for each value, we have another dictionary with four prices and a volume quantity. Let's choose to graph the highest price for each datapoint.
We can grab all of the prices associated with 2. high for each date using a simple for loop.
...
func_key = function_mapping[function]
time_series = stock_data[func_key]

dates = []
prices = []

for k, v in time_series.items():
    dates.append(k)
    prices.append(float(v['2. high']))

dates.reverse()
prices.reverse()

...
items() lets us access each of the key-value pairs in a dictionary as tuples, which we are unpacking in the for loop with k, v. This means for each iteration of the for loop, k is equal to the date, and v is equal to the dictionary that holds the data for that date.
This is why we append k to the dates list and v['2. high] to the prices list, after converting the string to a float. If this still doesn't make sense, I recommend adding some print statements to see how things are laid out.
Then, we reverse the lists so the oldest date and price are at the beginning of their respective lists.
One last thing before we move on. As of right now, each value in dates is a string. In order for us to be able to graph the data, we need to convert each string to a datetime object. We can do this with the datetime module in Python.
Import the module like so:
from datetime import datetime as dtThen, inside the for loop, make the following change:
for k, v in time_series.items():
    formatted_date = dt.strptime(k, "%Y-%m-%d").date()
    dates.append(formatted_date)
    prices.append(float(v['2. high']))

dates.reverse()
prices.reverse()
We're essentially "stripping" the date information from the string that contains the date. The strptime method needs the actual string, which is stored in k, and the format in which the string is in. %Y-%m-%d means the string has the full year first (as opposed to just the last two digits, in which case we'd use %y), followed by the month, then the date. There are also dashes in between which are also reflected in the format string.
Your info() function should look like this so far.
@app.route('/info', methods=['GET', 'POST'])
def info():
    if request.method == 'GET':
        return redirect('/') # Redirects user back to root page
    form_data = request.form
    symbol = form_data["symbol"]
    function = form_data["interval"]

    url = f"https://www.alphavantage.co/query?function={function}&symbol={symbol}&apikey={AV_KEY}"

    stock_data = requests.get(url).json()
    func_key = function_mapping[function]
    time_series = stock_data[func_key]

    dates = []
    prices = []

    for k, v in time_series.items():
        formatted_date = dt.strptime(k, "%Y-%m-%d").date()
        dates.append(formatted_date)
        prices.append(float(v['2. high']))

    dates.reverse()
    prices.reverse()

    return render_template('info.html')
Grabbing Company Info
One problem with the Core Stock APIs is that they don't return the actual name of the company, just the ticker symbol. It'd be ideal to be able to display the company name to make the user experience just a tad bit better.
We can use the Company Overview API to get this information. After looking at the documentation, it appears that the function value is OVERVIEW and the name of the company has the Name key. I inserted the following lines right after we grab the function name from the form:
@app.route('/info', methods=['GET', 'POST'])
def info():
    if request.method == 'GET':
        return redirect('/') # Redirects user back to root page
    form_data = request.form
    symbol = form_data["symbol"]
    function = form_data["interval"]

    overview_url = f"https://www.alphavantage.co/query?function=OVERVIEW&symbol={symbol}&apikey={AV_KEY}"
    company_overview = requests.get(overview_url).json()
    company_name = company_overview["Name"]

    url = f"https://www.alphavantage.co/query?function={function}&symbol={symbol}&apikey={AV_KEY}"

    stock_data = requests.get(url).json()
    func_key = function_mapping[function]
...
Creating the Graph
Now that we have our data, let's create the graph! For this, I'm going to use Matplotlib which is a graphing library for Python. Let's import the following (add them to the top of main.py):
from io import StringIO

import matplotlib
import matplotlib.pyplot as plt
import matplotlib.dates as mdates
matplotlib.use('Agg')
I know, I know, that is a lot of imports, but I promise we'll need all of them. The last line isn't an import, but it's necessary because we'll be tweaking our x-axis of our graph to show dates instead of regular numbers. (Normally, it's not needed, but because we're in Flask, it is.)
If you don't know Matplotlib, I definitely recommend learning it. It's really popular graphing library with limitless potential. I created the following helper function that we'll call from info() to create our graph. I placed it after info().
def get_graph(dates, prices, company_name):
    fig, ax = plt.subplots(figsize=(8, 6))

    ax.xaxis.set_tick_params(rotation=45)
    ax.set_title(f"Stock Price of {company_name}")
    ax.set_xlabel("Year")
    ax.set_ylabel("Price (USD)")
    ax.plot(dates, prices)

    buf = StringIO()
    fig.savefig(buf, format="svg")
    plt.close(fig)

    return buf.getvalue()
First, we're initializing our figure and axes objects. Then, we're setting the format of our x-axis. Remember, this is the axis that will display the date.
We're then rotating the labels by 45 degrees and setting the title of our graph, followed by us setting the title, x-axis, and y-axis labels. Then, we plot our data.
After plotting, we need a way to save the graph so we can send it to the frontend. To save disk space and time, we don't want to save it to our disk each time the user makes a request; That would lead to a lot of unnecessary graphs stored locally (and the disk is much slower than RAM).
This is why we resort to using a buffer. Think about the buffer as a way to store the graph in our computer's memory instead of our disk. That way, when the user is done with our app, we don't have any extra cleaning up to do!
So we create the buffer, assign it to buf and then save our graph to it in the .svg format. After closing our figure, we return the value of the buffer back to info().
Sending the Graph to the Frontend
Let's call our helper function from info() after the lines where we reverse our lists.
...
dates.reverse()
prices.reverse()

graph = get_graph(dates, prices, company_name)

return render_template('info.html')
Before we send it to the frontend, we need to import one more thing from Flask, Markup. This will format the graph, allowing our browser to render it as HTML code.
from flask import Flask, render_template, request, redirect, MarkupFinally, we can send it to info.html by replacing the final line of info() with the following:
return render_template("info.html", info={
    "company_name": company_name,
    "symbol": symbol,
    "graph": Markup(graph)
})
We're defining a parameter info to which we're assigning a dictionary that holds the company ticker symbol and graph that we just created. Let's display it now!
Displaying the graph
We're going to make some changes to info.html.
{% extends "index.html" %} {% block content %}
<h1>Historical Stock data for {{ info.company_name }}</h1>
<h2>Ticker symbol: {{ info.symbol|upper }}</h2>
{{ info.graph }}
<button><a href="/">Go back</a></button>
{% endblock %}
We're using the fact that we named our parameter info in the previous step. When we use info.[name of dictionary key], we get the associated value.
When we save this and submit some data in our form, we get the following screen!
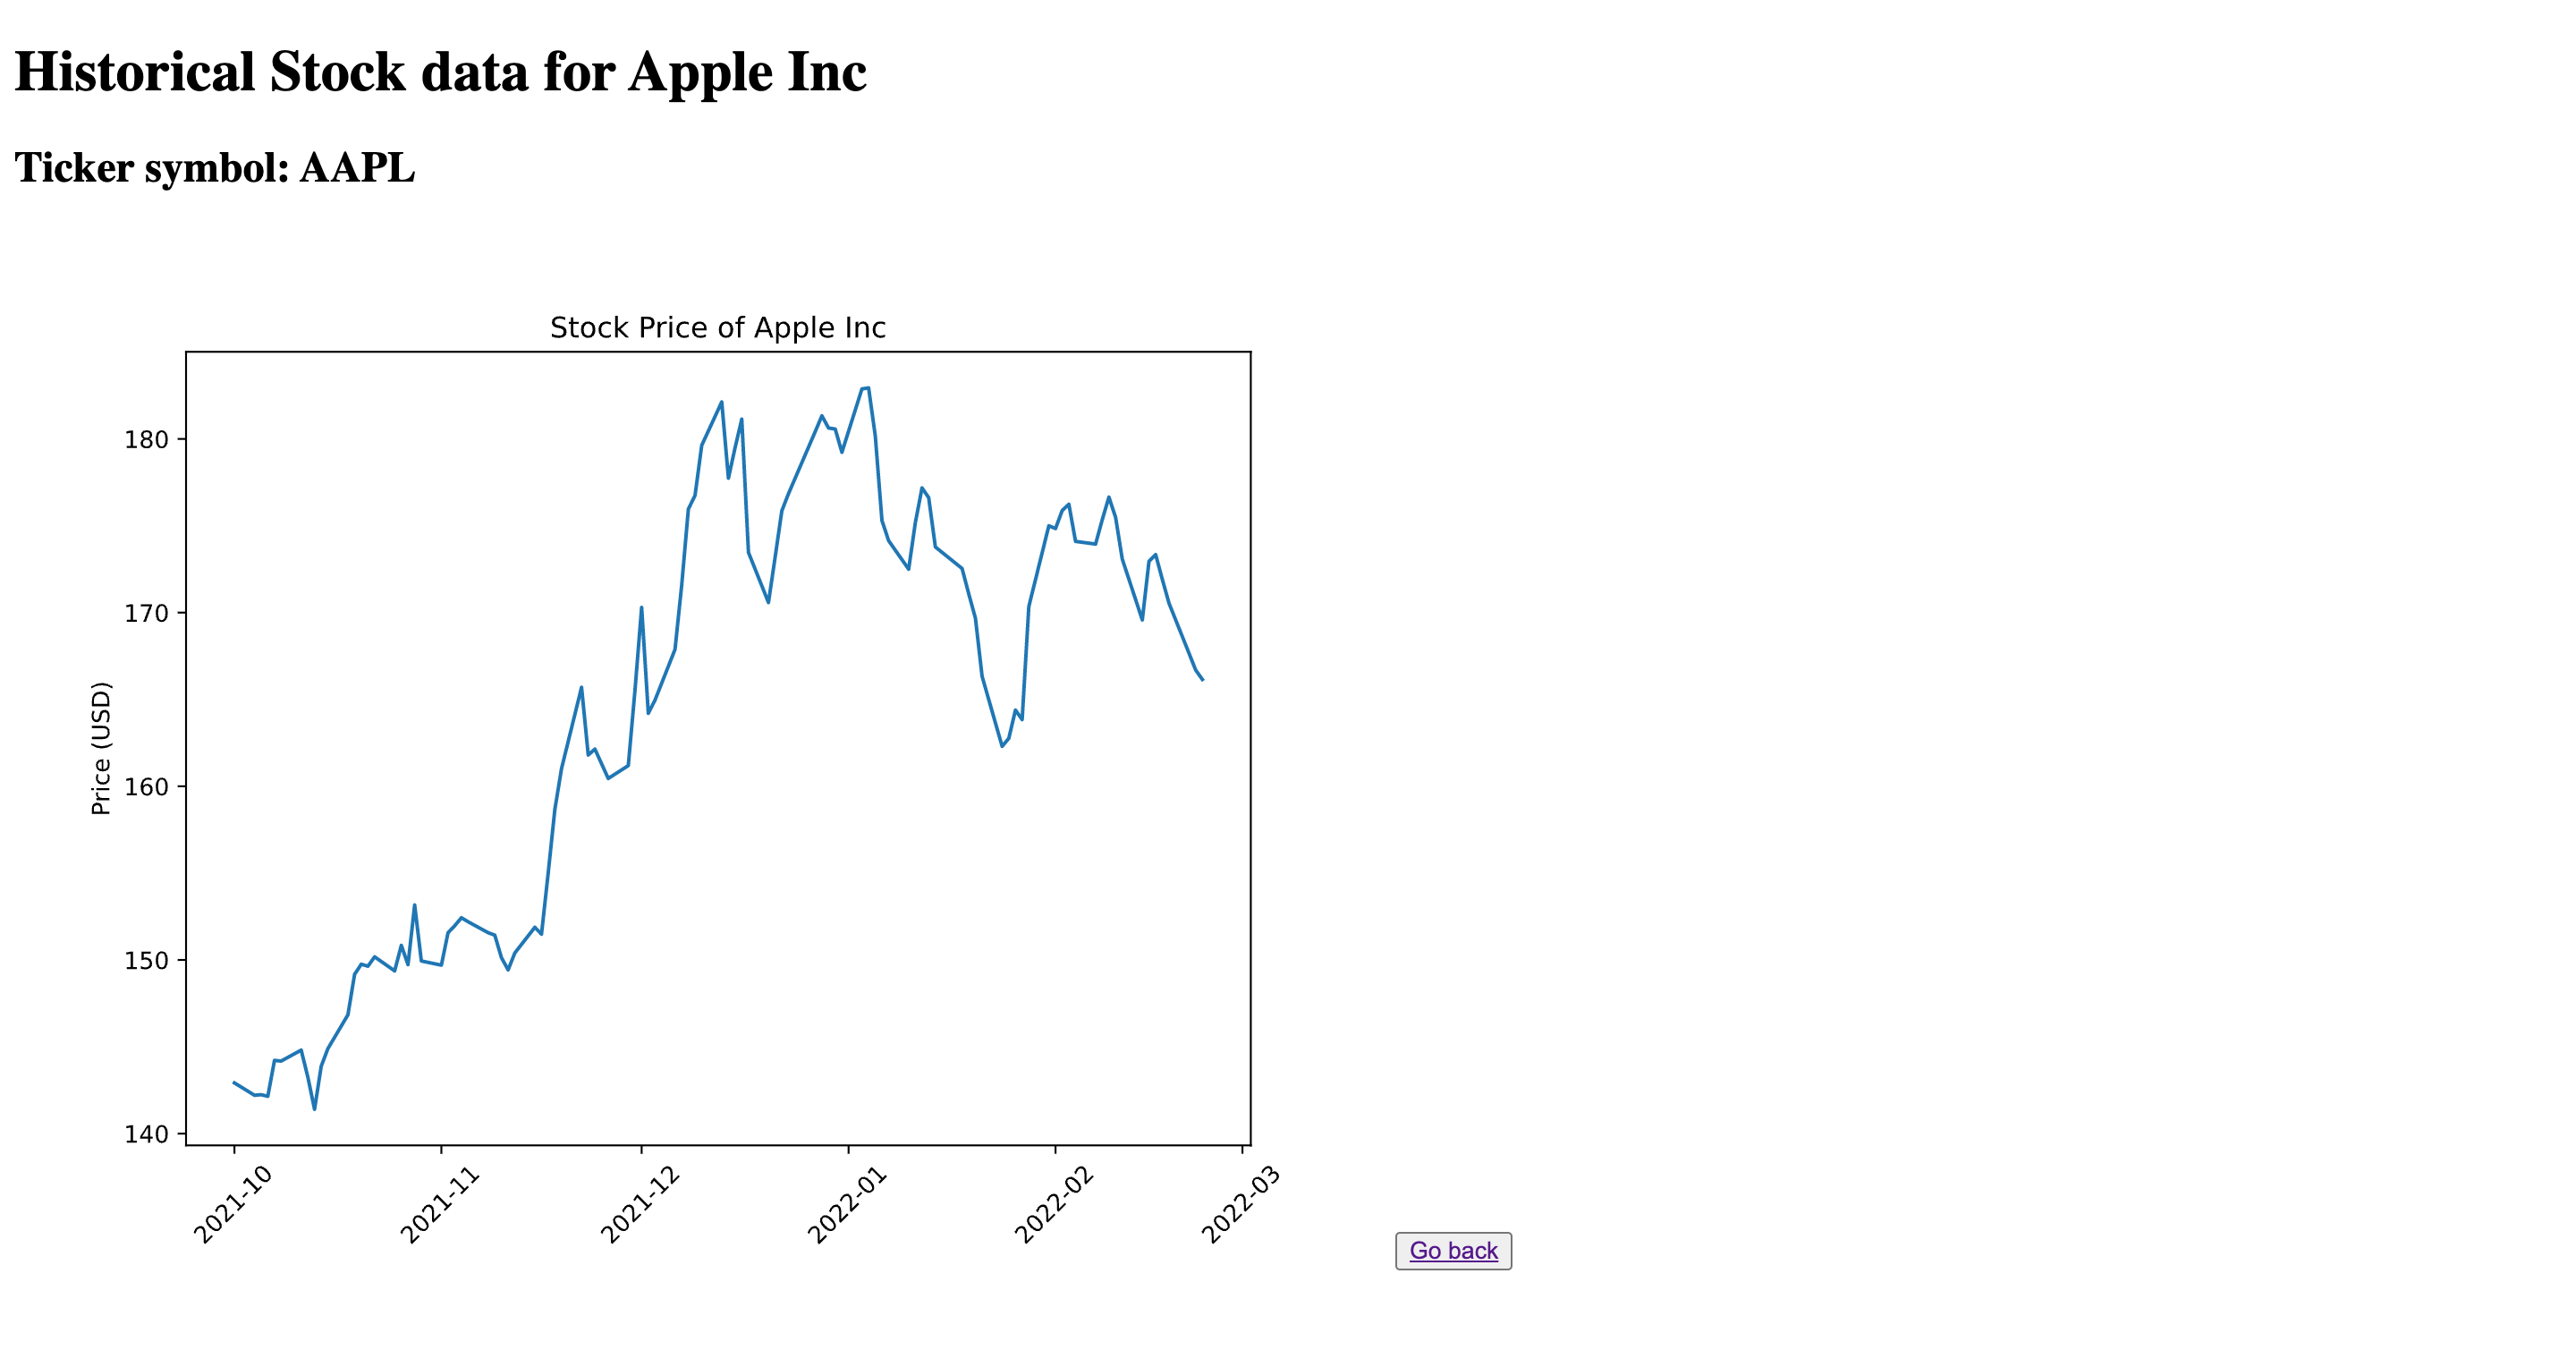
Clicking on the "Go Back" button links to the root page, /, which brings us back to the form.
Congrats! Our Flask app is now functional, as long as the user behaves...
Handling Incorrect Inputs
One last feature we want to add to our app is error handling. What if the user enters a ticker symbol that doesn't exist or isn't supported? Let's decide to simply send them back to the home page with a simple error message.
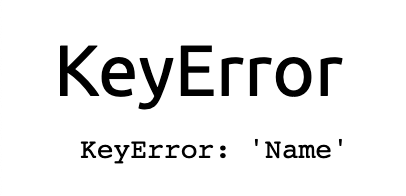
As of right now, the app crashes with improper input.
In index.html, add the following line right after form:
...
</form>
{% if error %}
    <p>{{ error }}</p>
{% endif %}
When you refresh the home page, nothing will change because the error variable is blank, so the if statement evaluates to be false.
Let's figure out how to identify an error. After some experimentation, it appears that when the ticker symbol is invalid, the result from the Company Overview API is either an empty dictionary or has an error message.
We can perform a simple check for the Name key after we grab the company overview data. Before you make the following change, make sure you import url_for up top.
from flask import Flask, render_template, request, Markup, redirect, url_for
...
url = f"https://www.alphavantage.co/query?function=OVERVIEW&symbol={symbol}&apikey={AV_KEY}"
company_overview = requests.get(url).json()

if 'Name' not in company_overview:
    return redirect(url_for('index', error="Invalid ticker symbol"))

company_name = company_overview["Name"]
...
Once we find that a ticker symbol is invalid, we're redirecting the user to the URL associated with our index function, but this time with a parameter. For an error, the URL will look like http://127.0.0.1:5000/?error=Invalid+ticker+symbol. We can now use this parameter to display the error message on our home page.
Quick note about the distinction between URL parameters and POST requests. Both are used to transmit data, but URL parameters are visible to the user! Thus, you should never use URL parameters to send sensitive information, like passwords.
Change index() to the following:
@app.route('/')
def index():
    if "error" in request.args:
        return render_template('index.html', error=request.args['error'])
    return render_template('index.html')
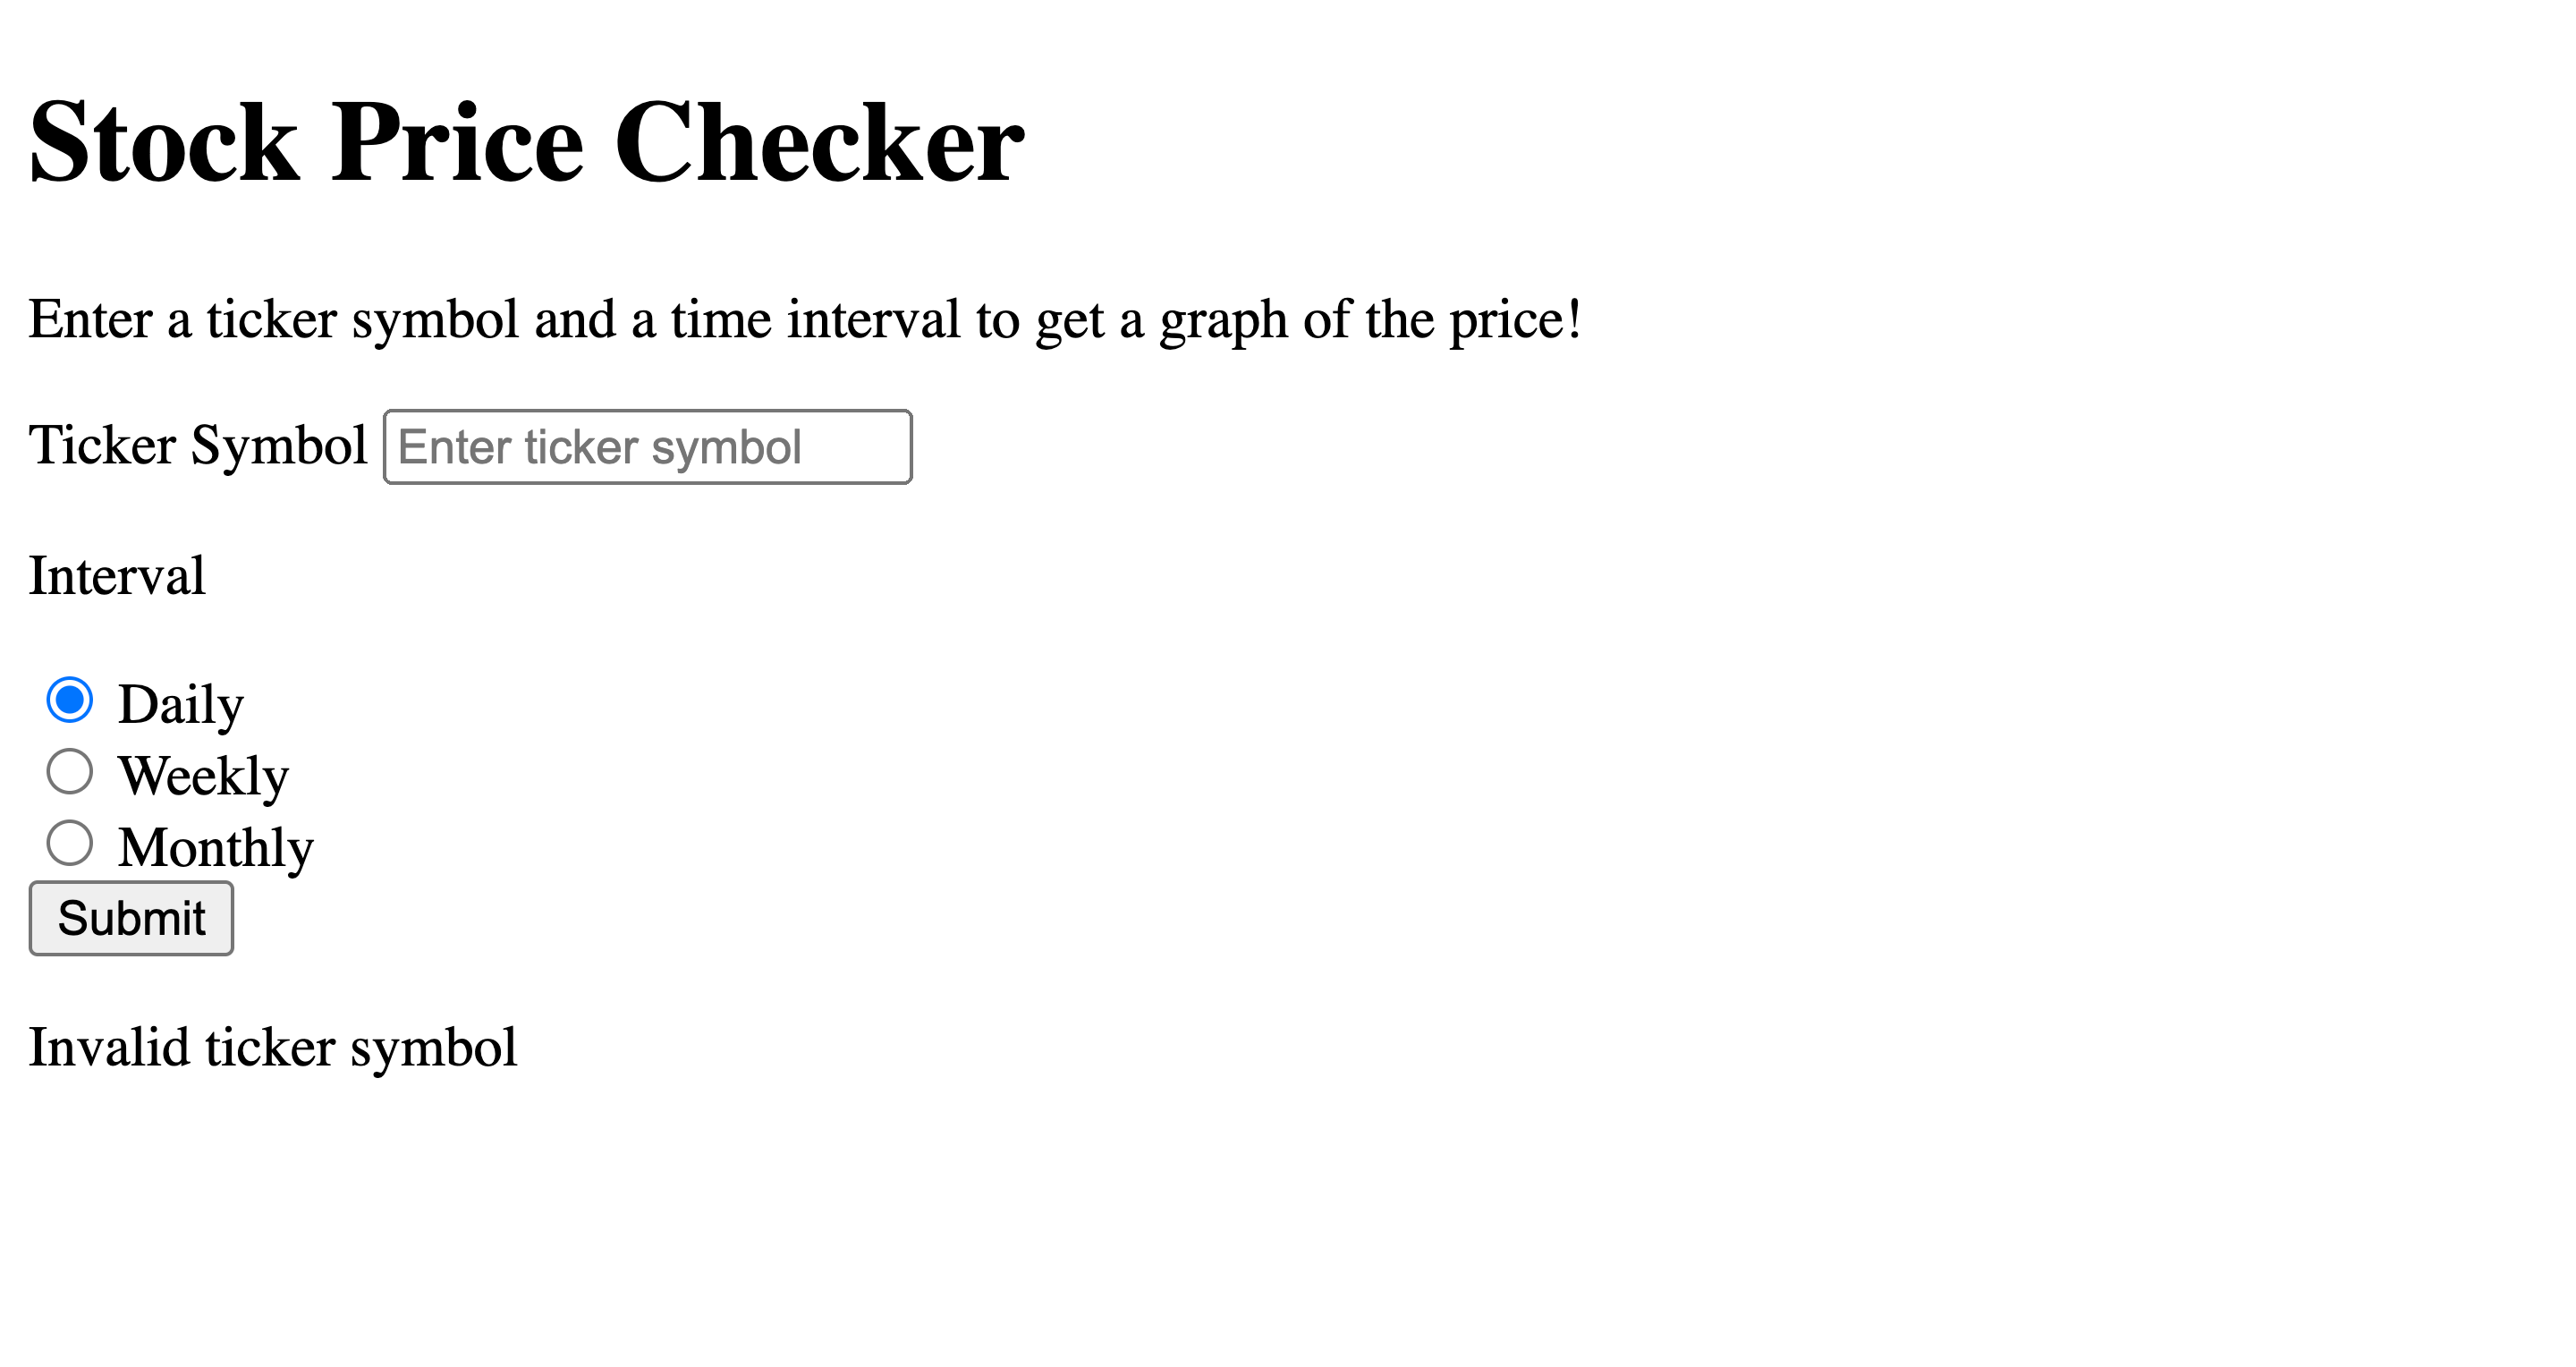
Because the error parameter won't always be there, we're checking for it. If it's there, then we grab the parameter's value using request.args['error'] and pass it to index.html. Otherwise, we just render the template as usual. The error message should look like:
Basic Styling
While our app is certainly working, it doesn't look the sexiest. I'm not going to dive into the CSS changes I made with Bootstrap (which is a CSS library), but after some tweaking, I managed to make the app look like this:
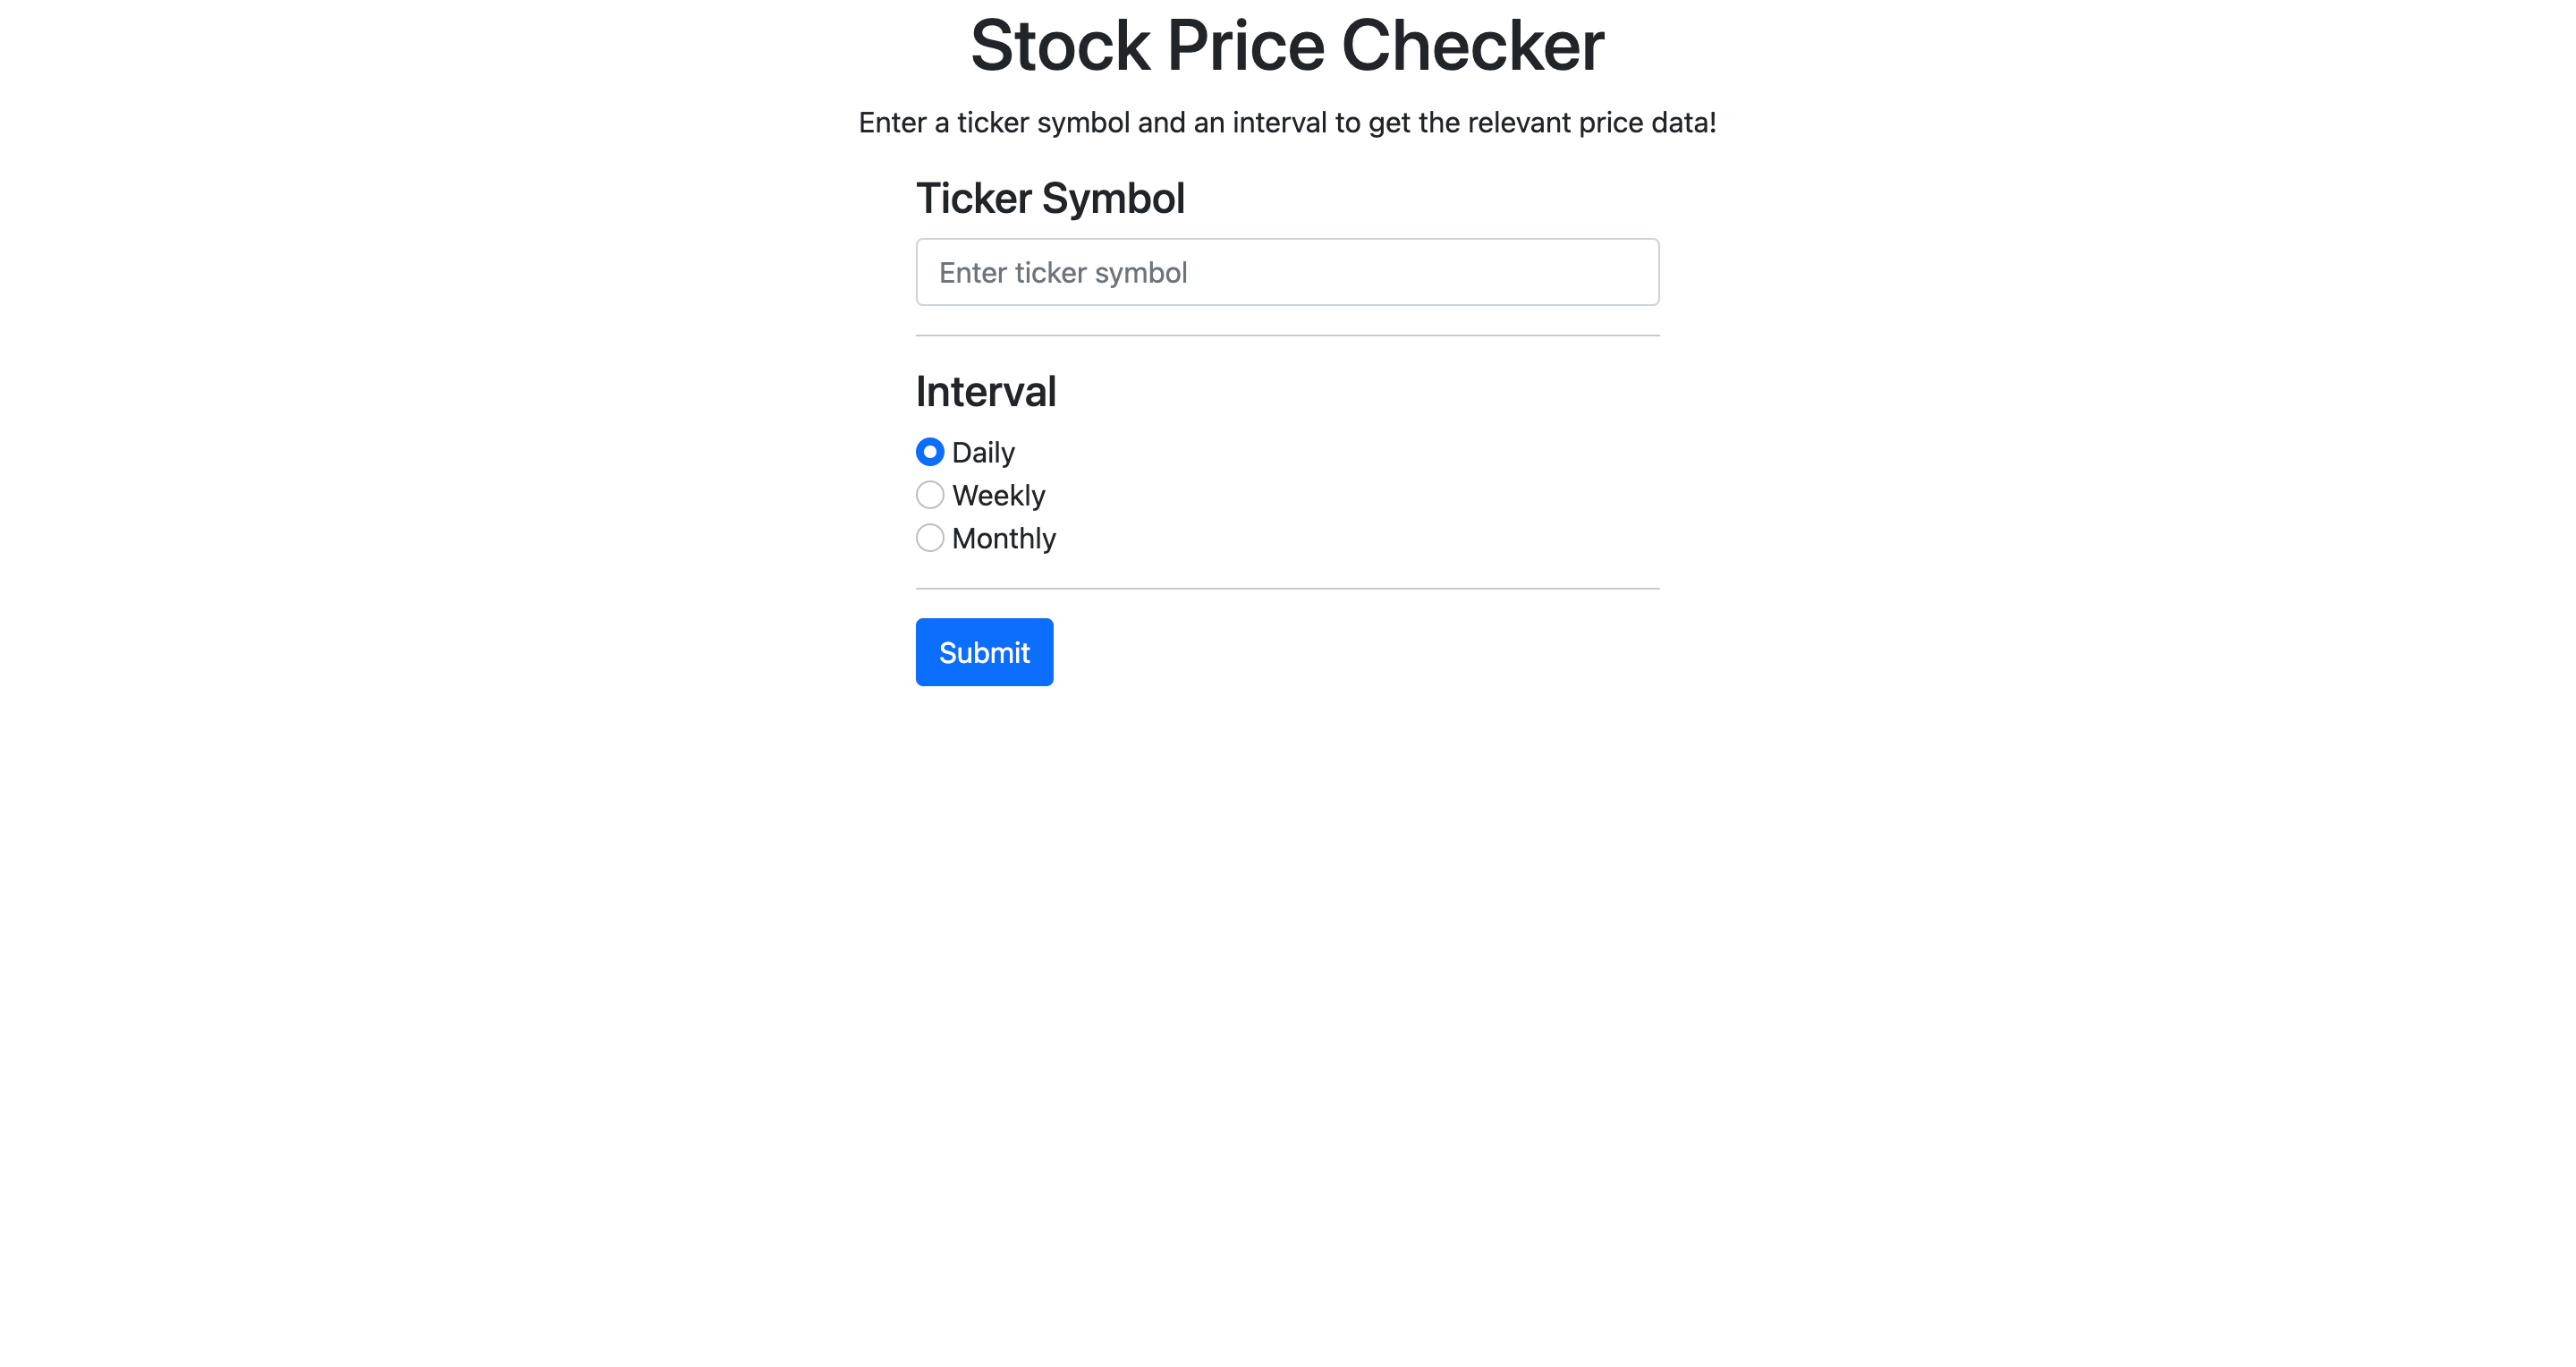
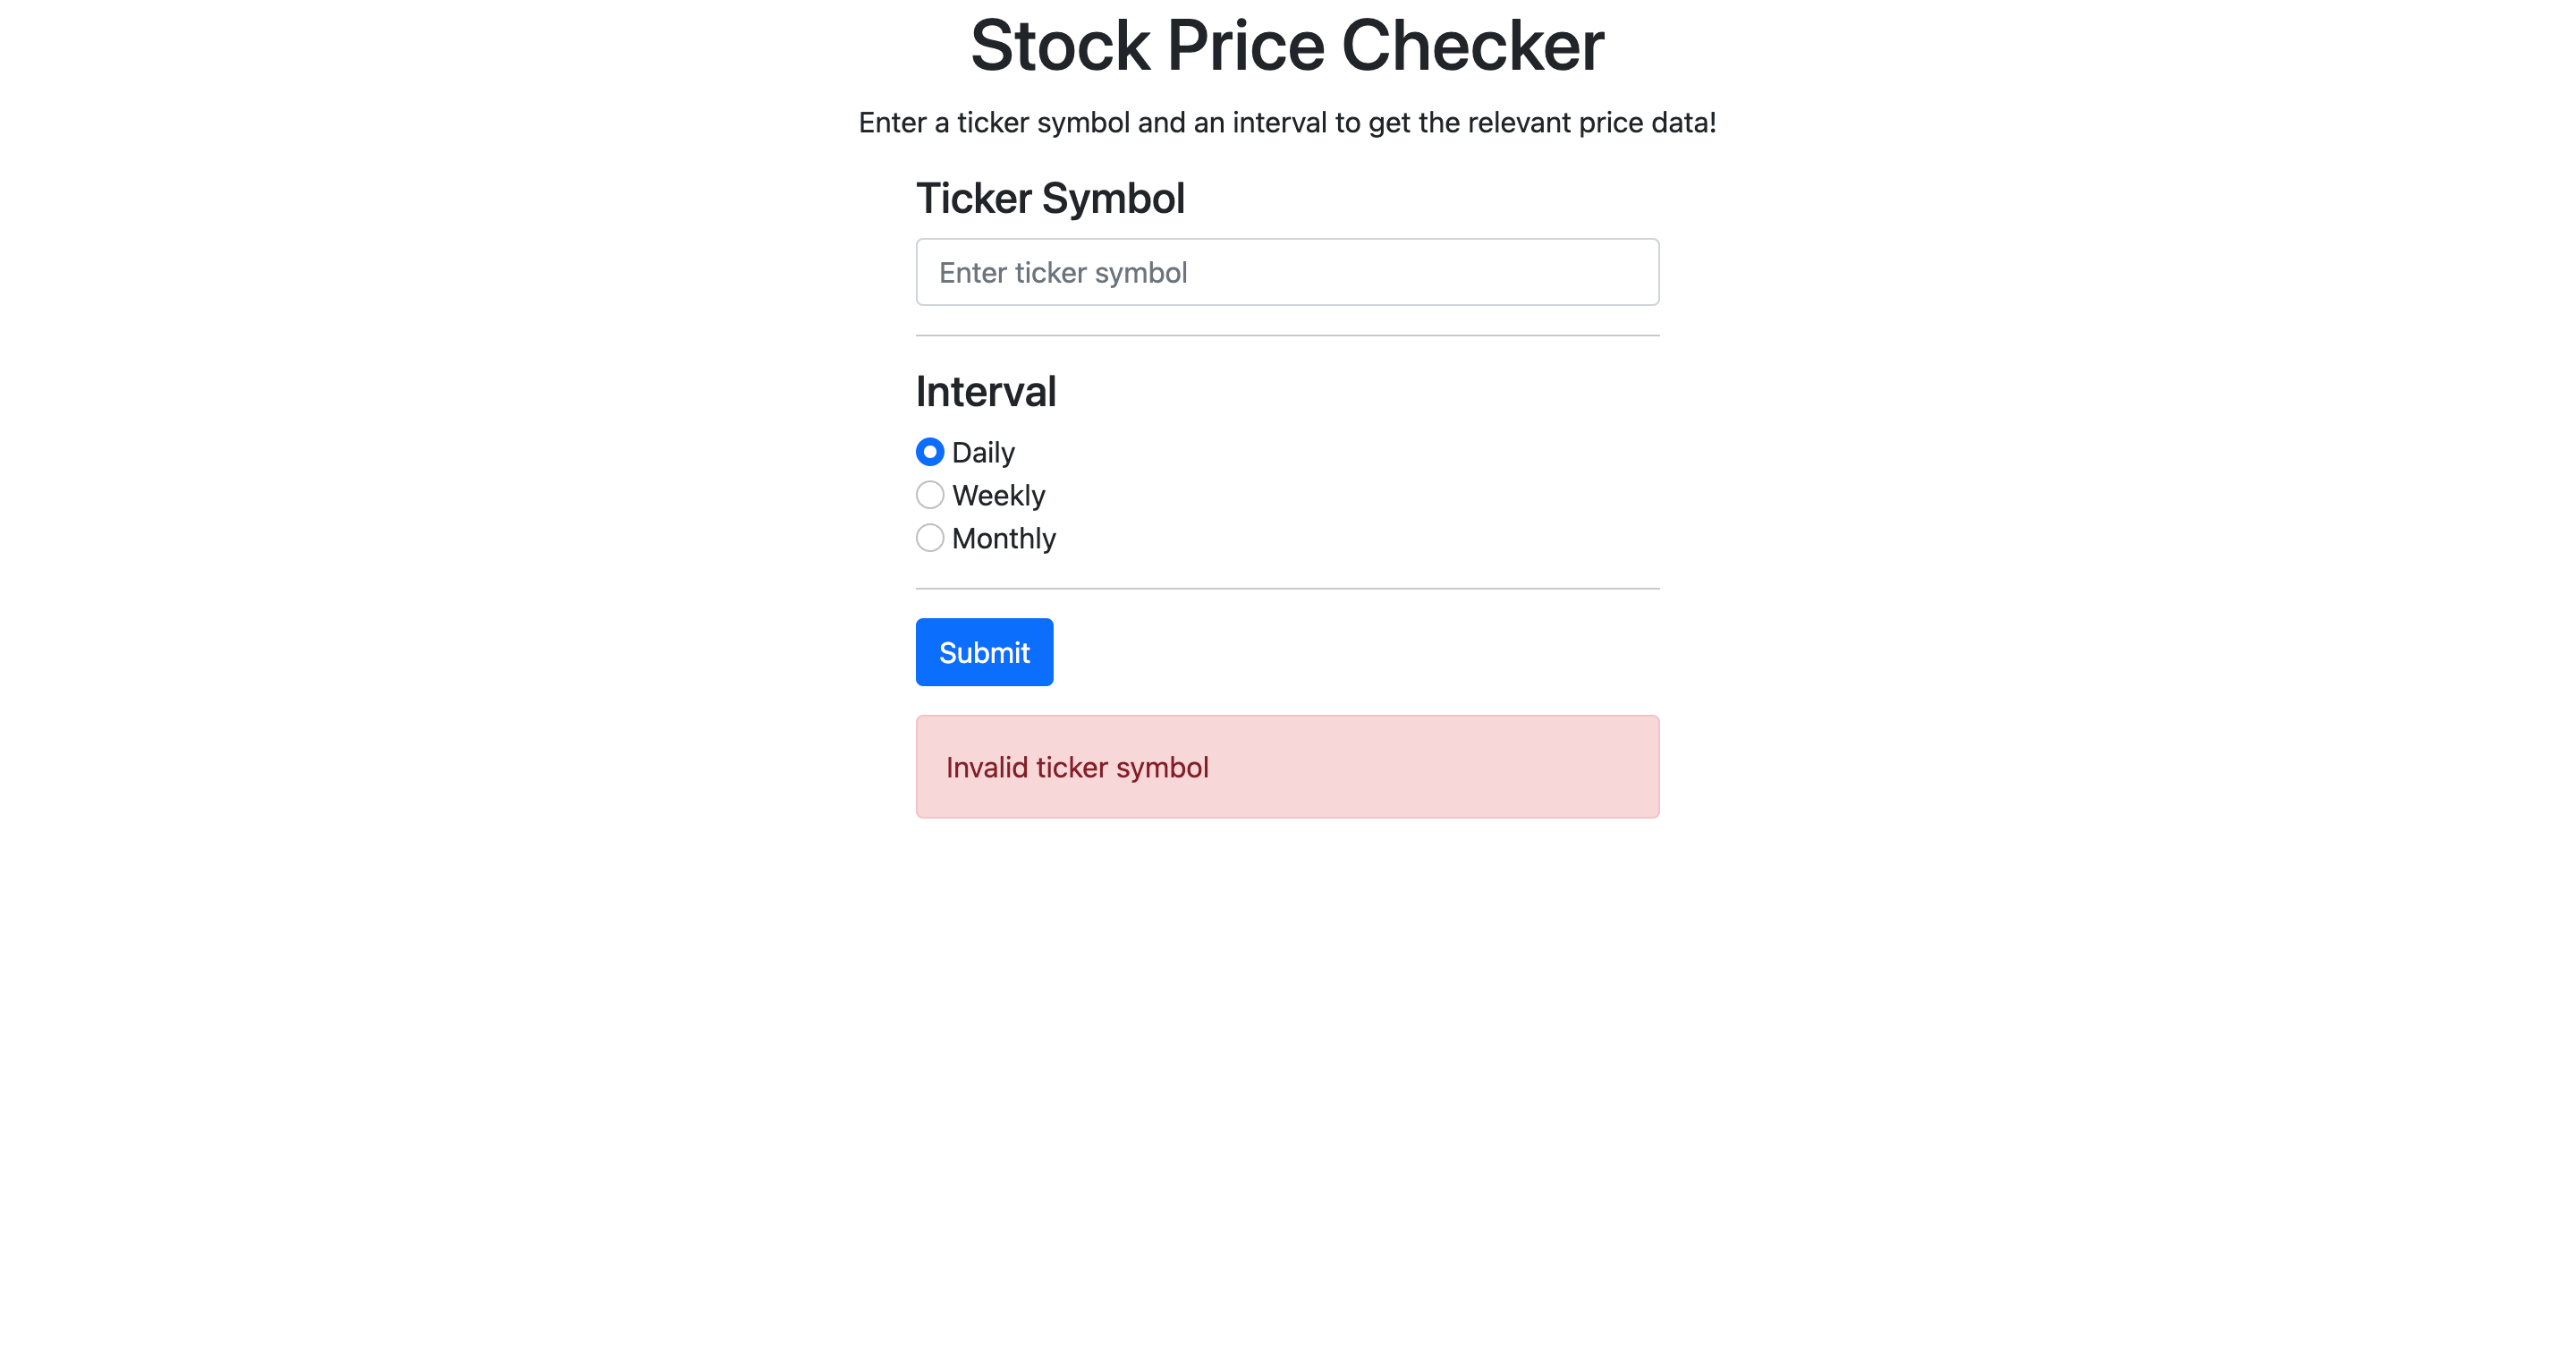
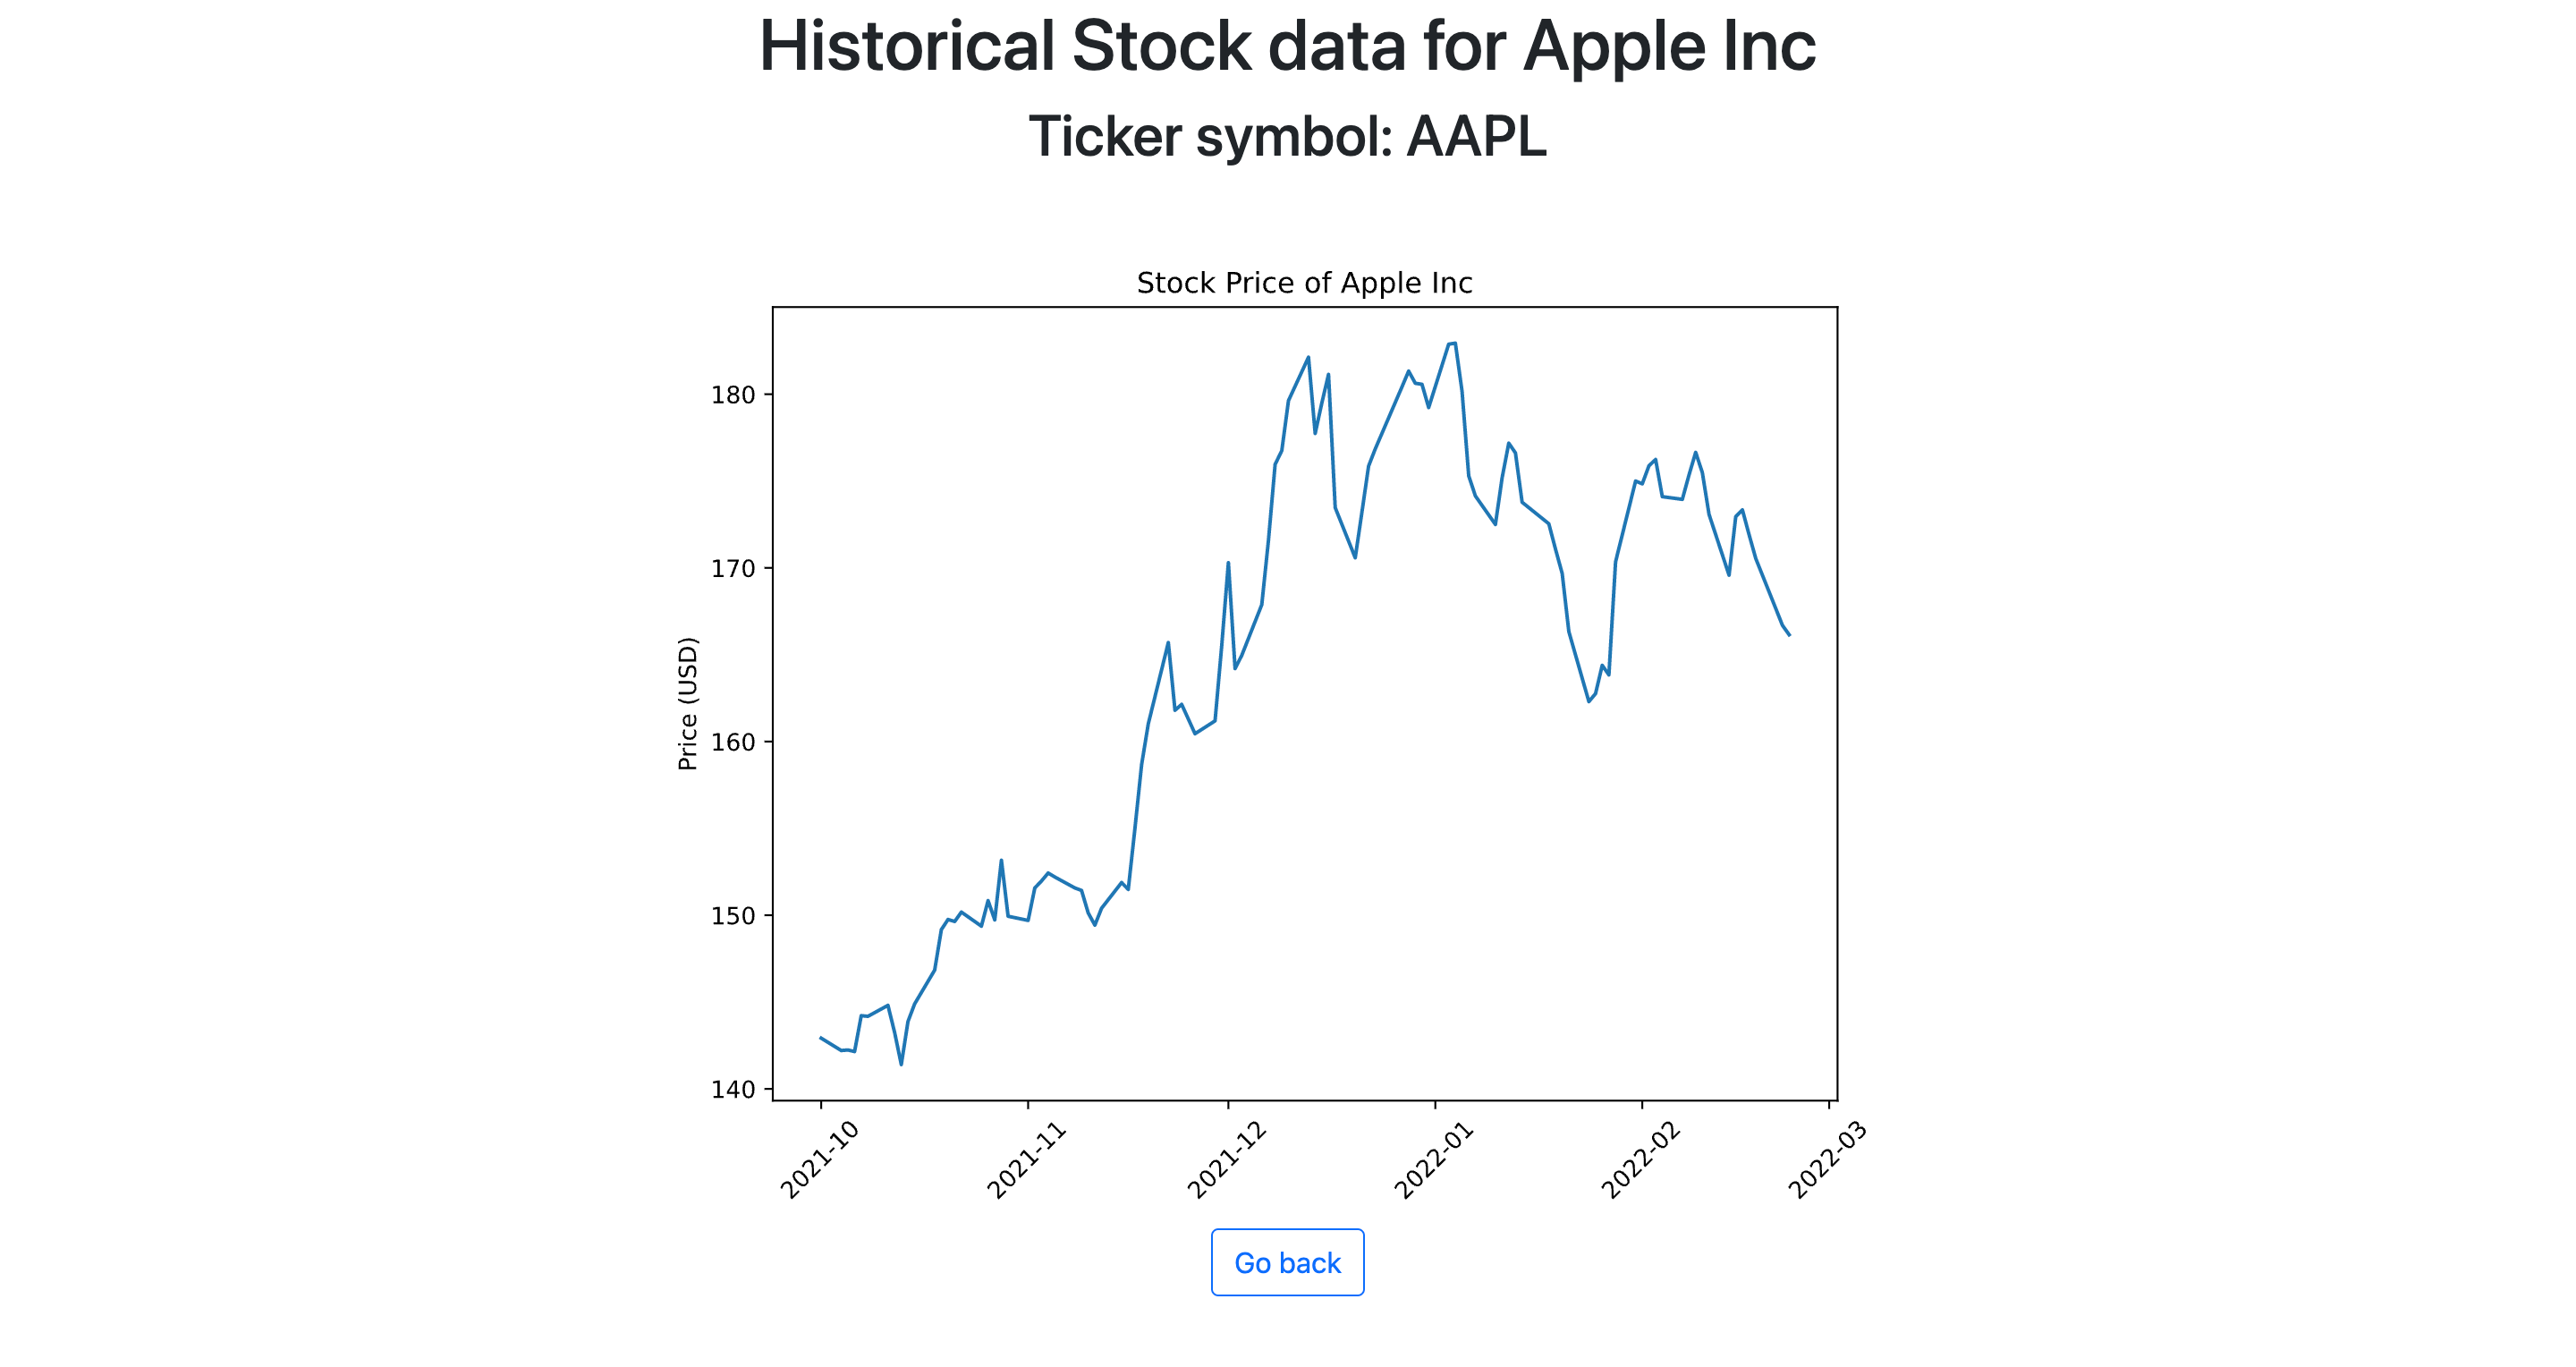
All of these changes are present in my repo where this app is hosted. Just a heads up, I did have to make some slight refactoring to the code base we worked on together.
Conclusion
I hope that after this simple tutorial, you are able to extrapolate these new skills to personal projects of your own! Flask is a very versatile framework that handles the complicated parts of web development for you while leaving your imagination unrestricted.
If you have any specific questions about this post or about Flask in general, please feel free to contact me. I'd love to answer any questions!